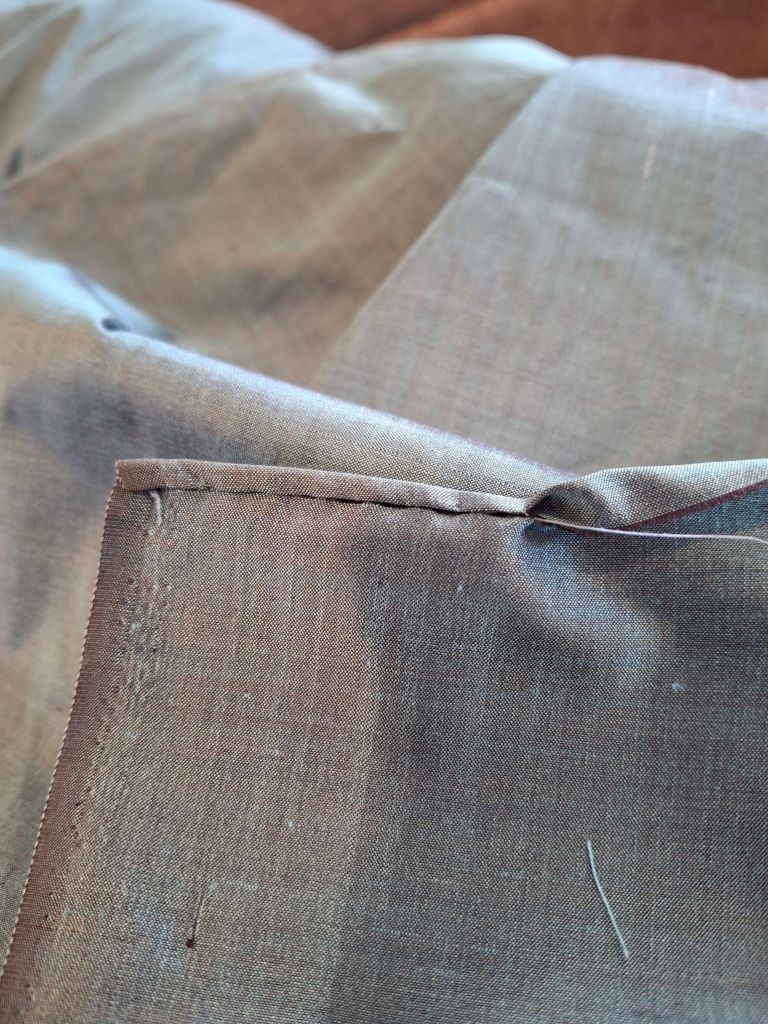
I learned how to do the magic hem from the internet a million years ago, but I’m doing my own post on it because I personally think that there cannot be too many sources on the subject. I have no idea who started this technique, or when. I’m absolutely not claiming that it’s in any way period. It IS a fantastic way to achieve an even, neat rolled hem. It can be used on straight edges and curves, making it wonderful for veils. I’ve been using it on my tunicas. In Rome, a tunica would have been woven to shape and either woven into a tube with no sewing, or sewn very little, using selvage edges. I’m not weaving my own fabric, and very rarely do I have selvage edges to work with. To get a minimal and unobtrusive edge finish, I do a small rolled hem. (Then I whip stitch the two hemmed edges together for my seam. I’m starting to rethink this approach, but right now it’s the most fabric conservative method, and using the vintage saris, I want to eke out as much width as I can get.)
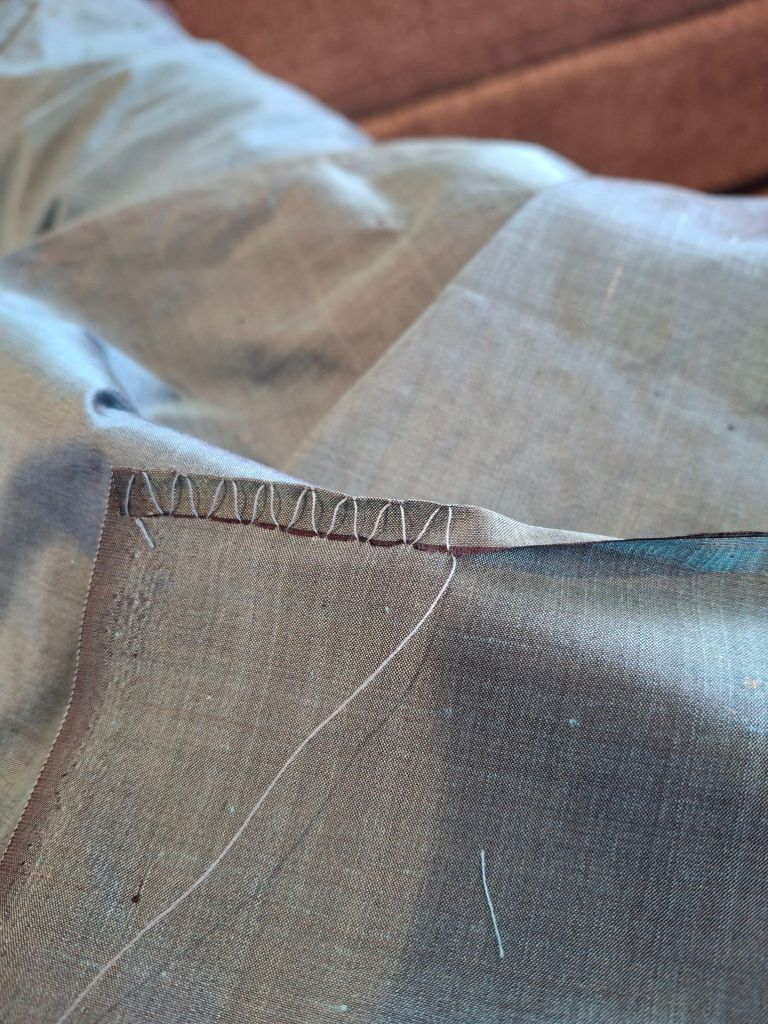
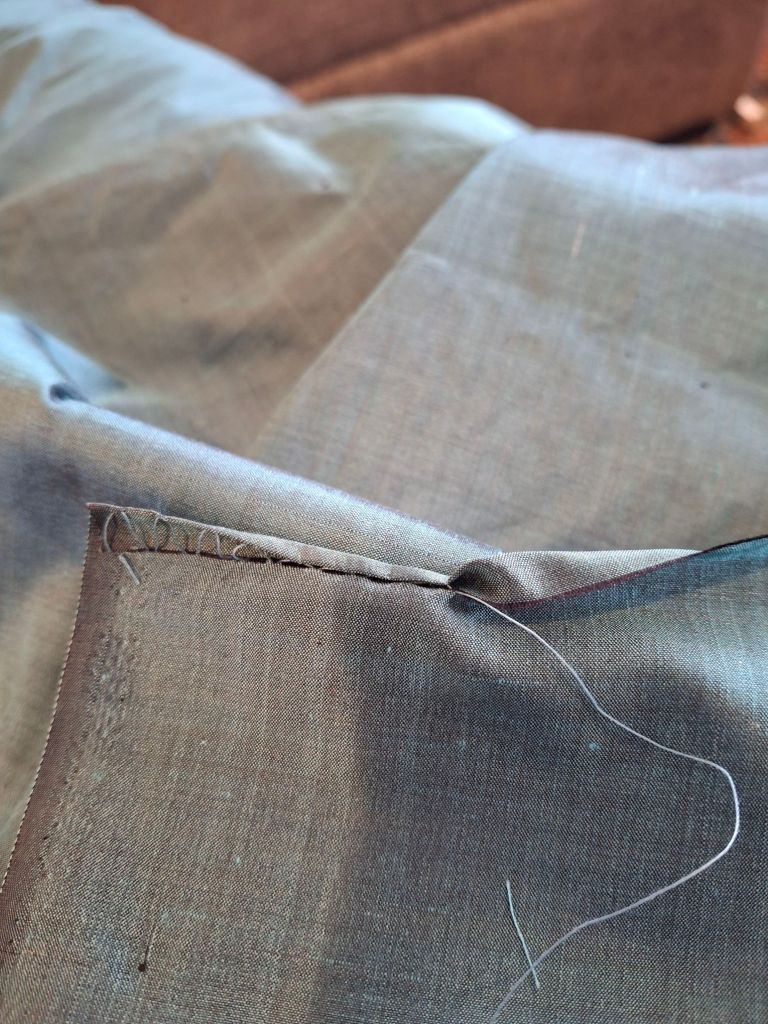
Anyway, the magic hem! It’s very simple. You fold a small (1/4″ or less) single hem. Start your thread at the raw edge. Take a stitch in the fold (about 2-3 mm). Take a small stitch (try to pick up just a few threads) at the raw edge, take another stitch in the fold, take another stitch at the raw edge. Don’t pull your stitches all the way snug yet. Just pull them so that they lay flat against your folded hem. Continue stitching in this manner for about 1 1/2-2″. Then pull your thread and let the final hem form. The fold will fold again, in on itself, encasing the raw edge. See the photos below.

Leave a comment