If you haven’t read my “Figuring Out Filigree” post, you won’t get all the information on this piece. If you have read it, this is the project post where I’ll go into other details about making the necklace.
My inspiration is a photo that I found on Pinterest, that’s from Flickr, with a foreign language caption citing “museo archeologico e d’arte della Maremma, Grosseto” This is a museum in Grosseto, Italy. I can’t find the necklace on its website, but that doesn’t mean it’s not in their collection, their entire collection may not be online. It’s also quite similar to one that I’ve made previously, based on a partial necklace fragment that’s 12″ long, that resides at The Met in New York. The key differences between them are that the Maremma necklace is made with thicker gauge, rectangular or square wire, the motifs seem slightly smaller, and there are three little curlicues inside each circle, rather than four. I believe it is a real artifact, but I can’t verify that. I made it anyway because it’s pretty! And it’s a different kind of challenge than the one I made previously.
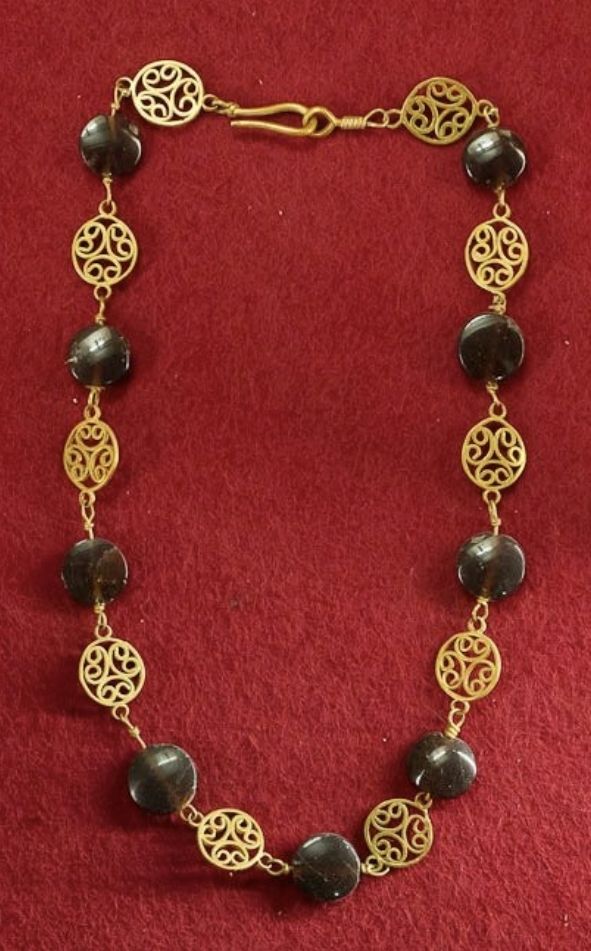
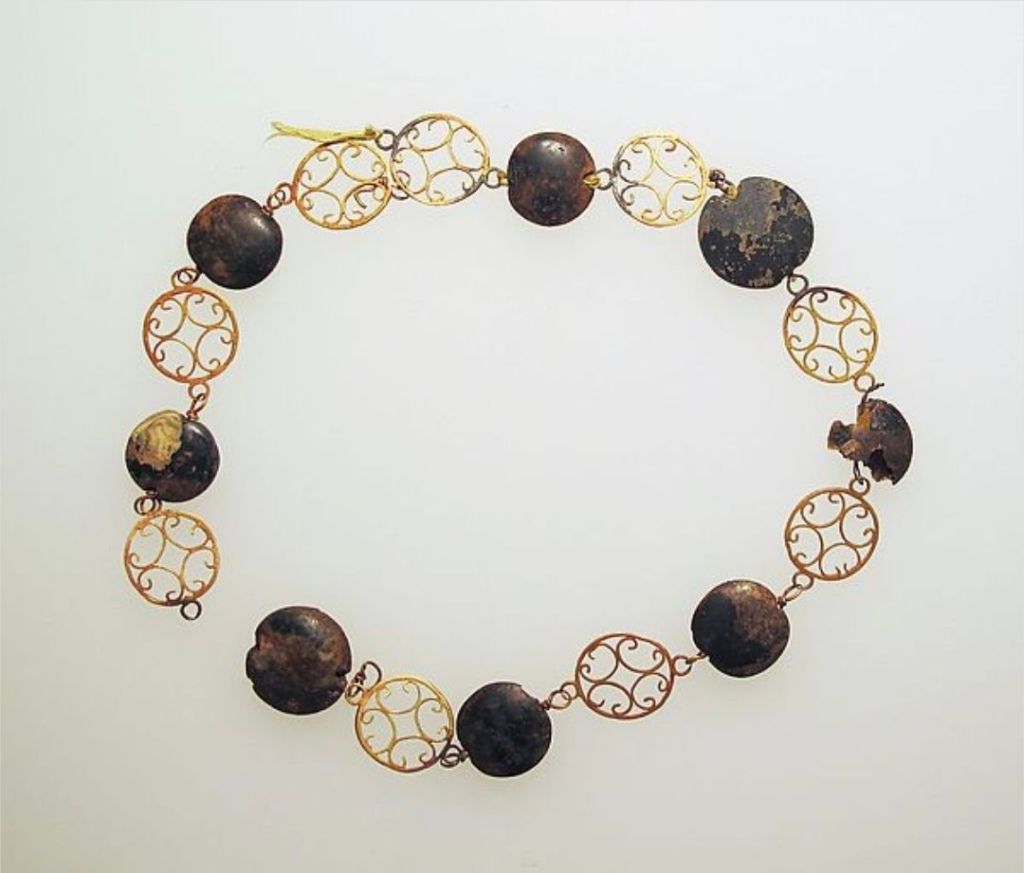
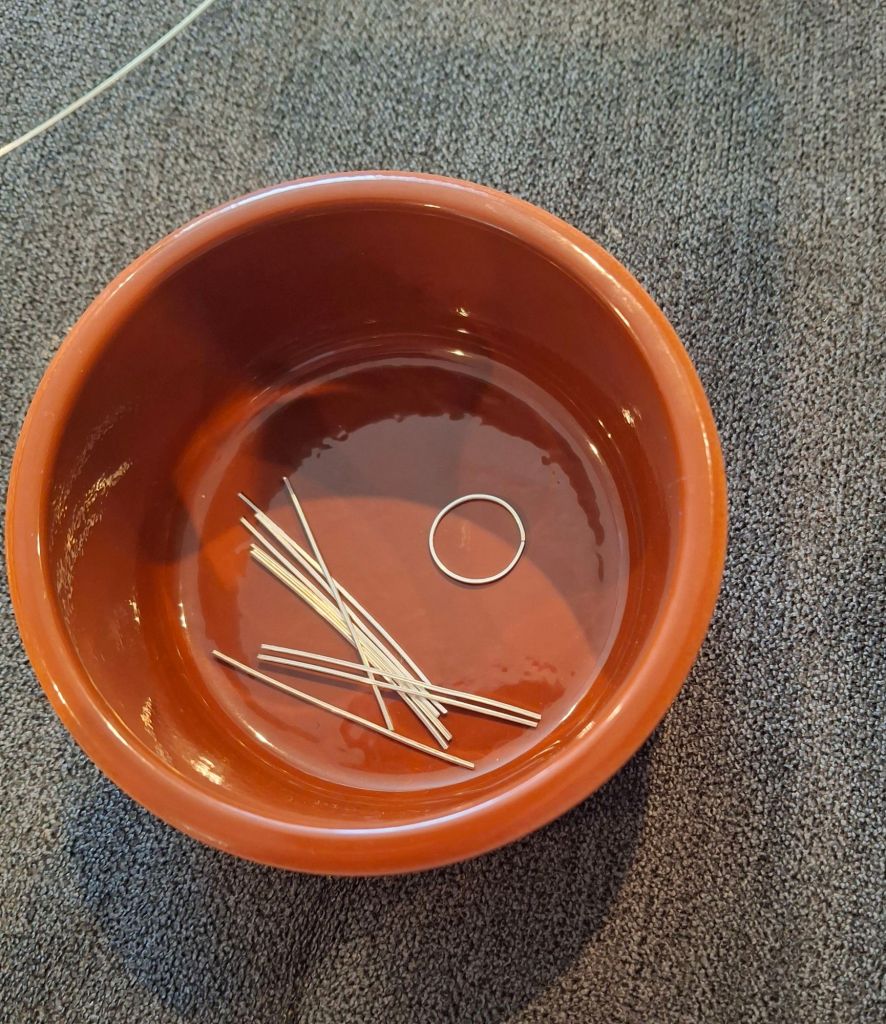
For my version, I started with 5cm lengths of wire for the outer circle.
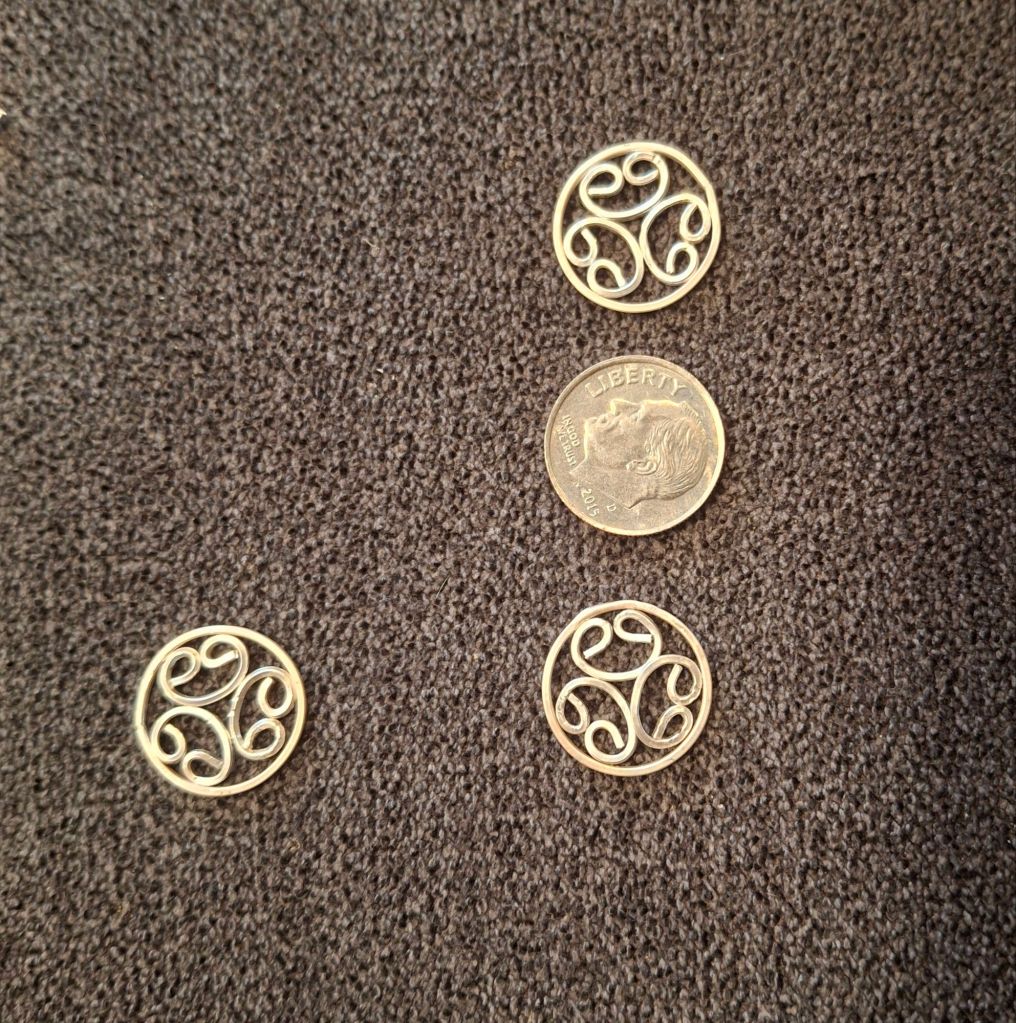
Once those were all formed and soldered, I spent some time figuring out the filigree. Each inner motif ended up taking 3cm of wire. I should note that I’m using 20 gauge square wire.
Then I moved onto making the jump rings. I really should have made these one at a time, to keep the square wire perfectly in line. I didn’t, I made them in my usual way, and the wire twisted on me in places. Lesson learned. My jump rings are 4mm.
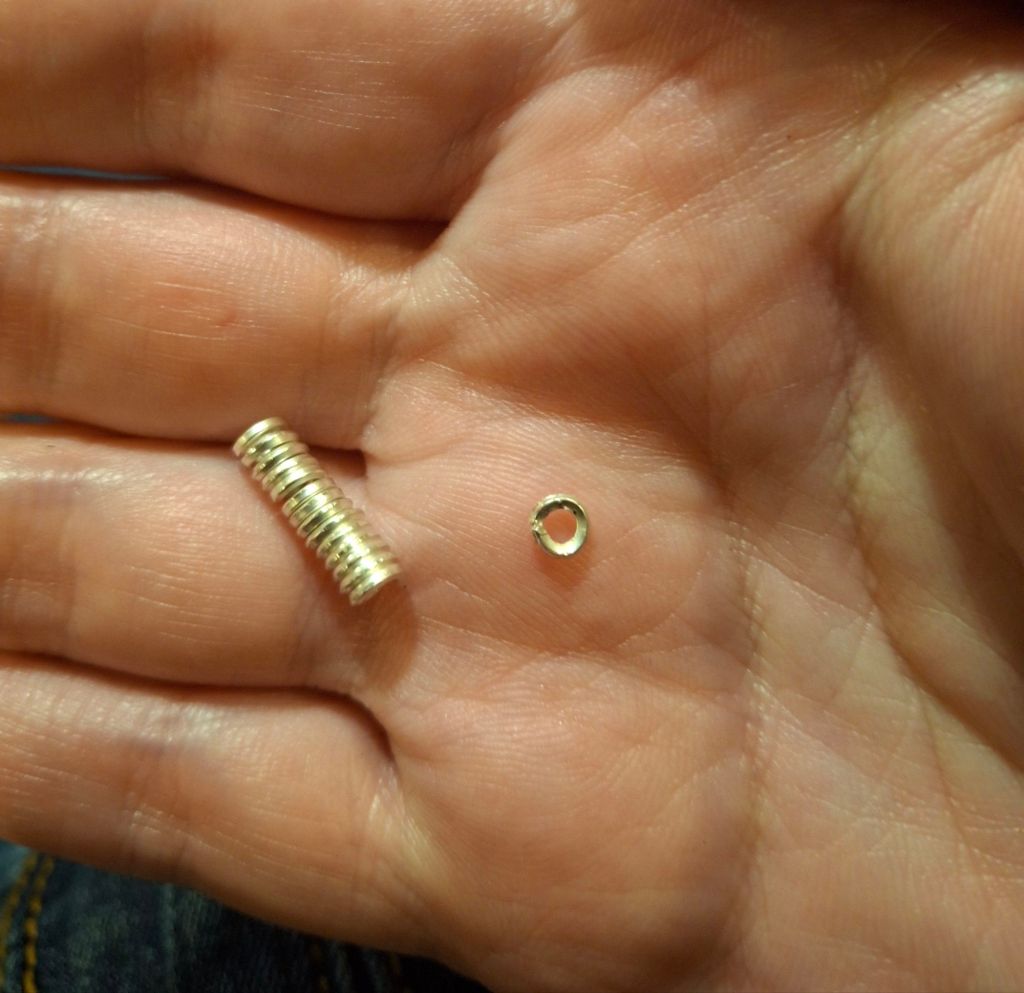
Test fitting the entire piece.
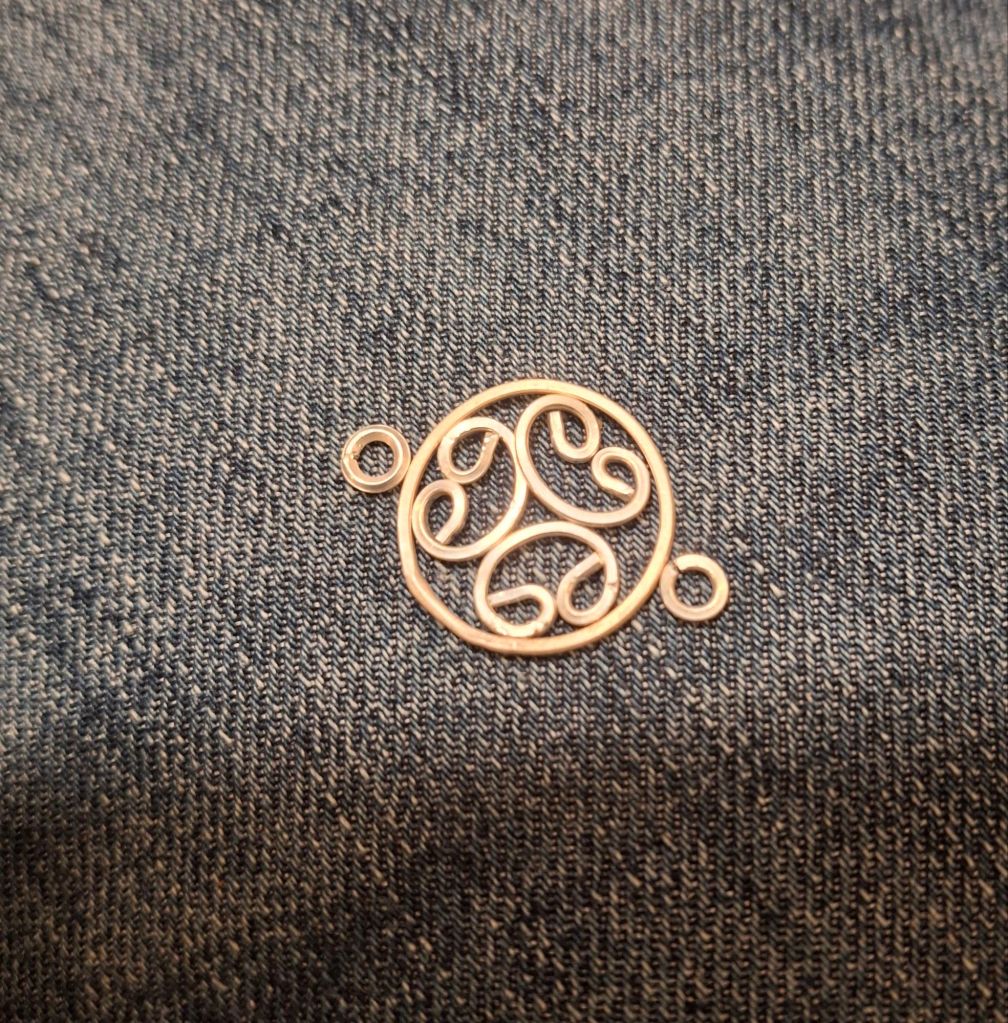
Next came soldering the inner motifs. I soldered where they met the outer ring, as well as where they met each other in the middle. When I made my original necklace (from the Met example) I only soldered the outer ring connections. That’s held up remarkably well, as I wear it relatively often. But this piece is going out into the world, and I wanted it to be a bit more secure.
At this point, each inner motif needed to be tweaked and hammered flat so that they would all fit correctly prior to soldering.
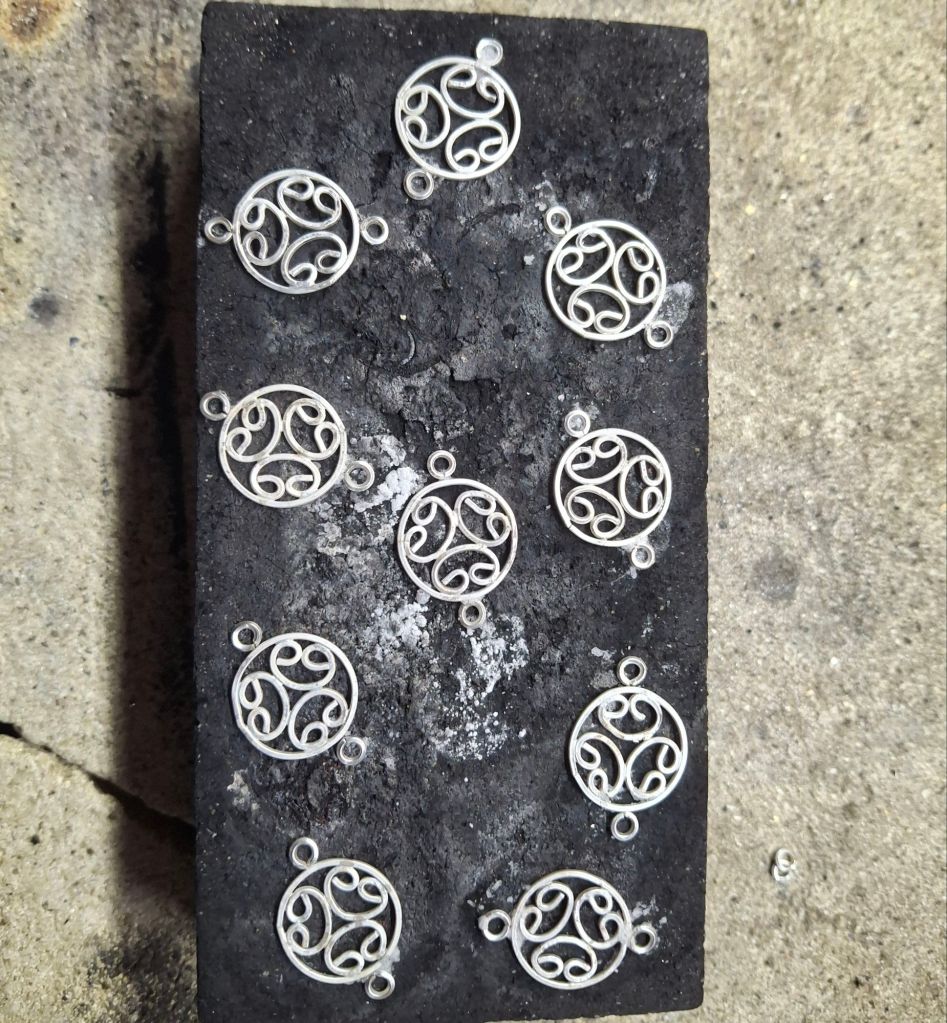
In the above photo, all the inner bits are soldered, and the jump rings are waiting for solder. I did melt one motif and had to remake it. I pick soldered everything.
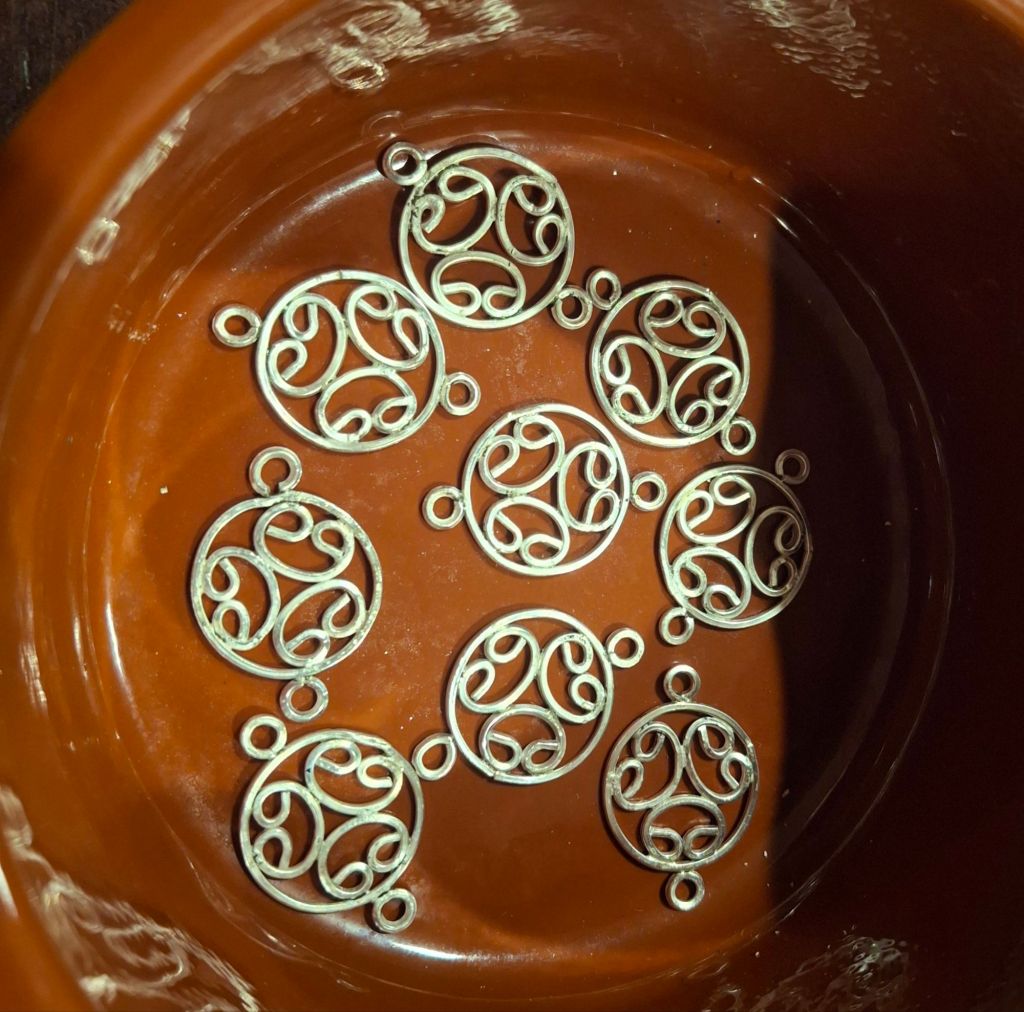
And here they are all finished and polished! There’s one that’s quite wonky. It started to melt, but I rescued it. It’s not perfect, but it’s not so bad I felt the need to trash it. It’ll just go at the back.
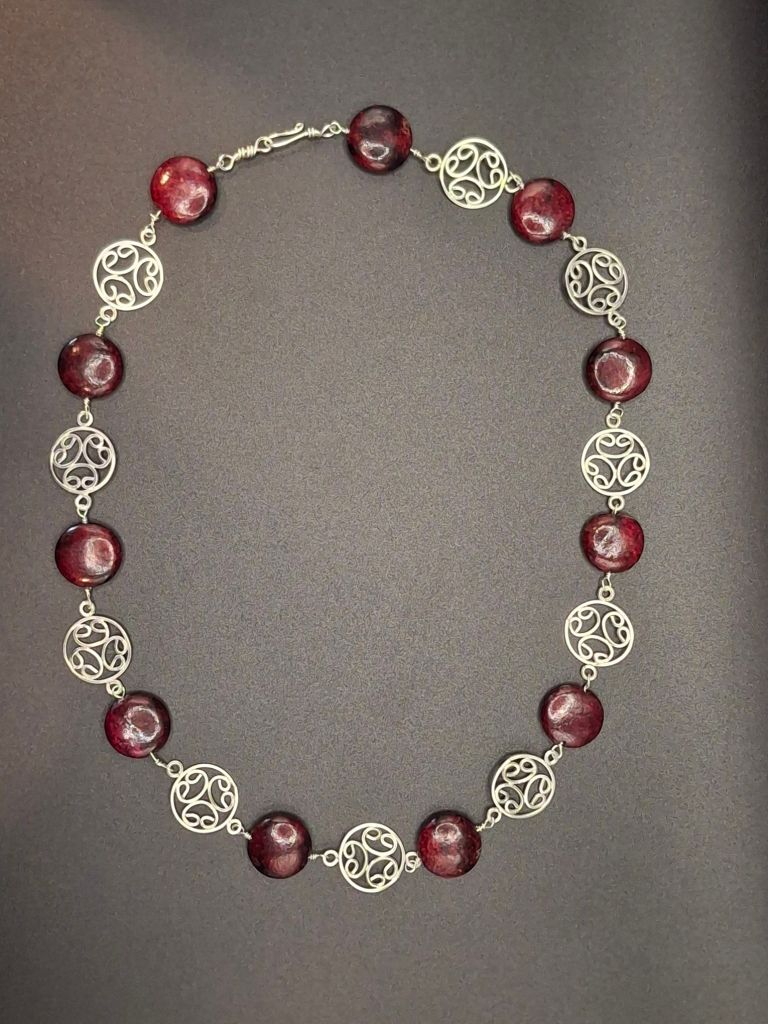
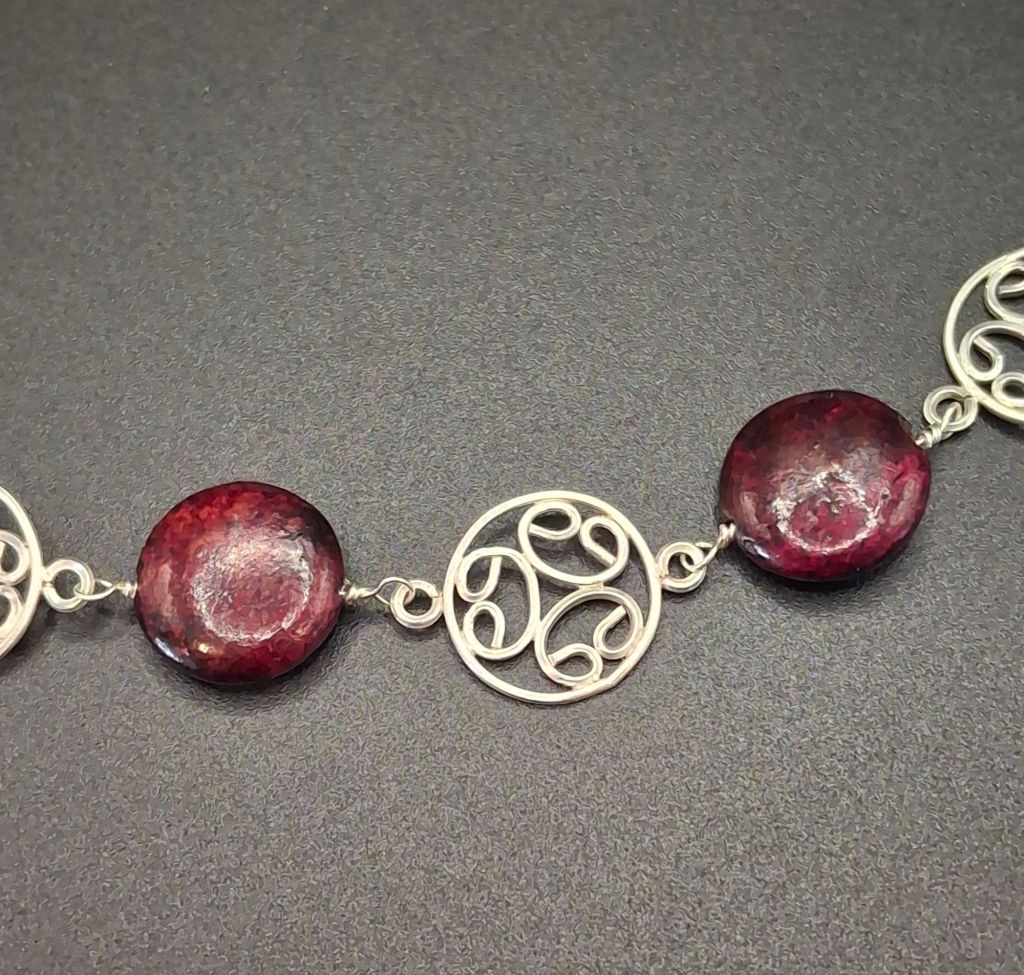
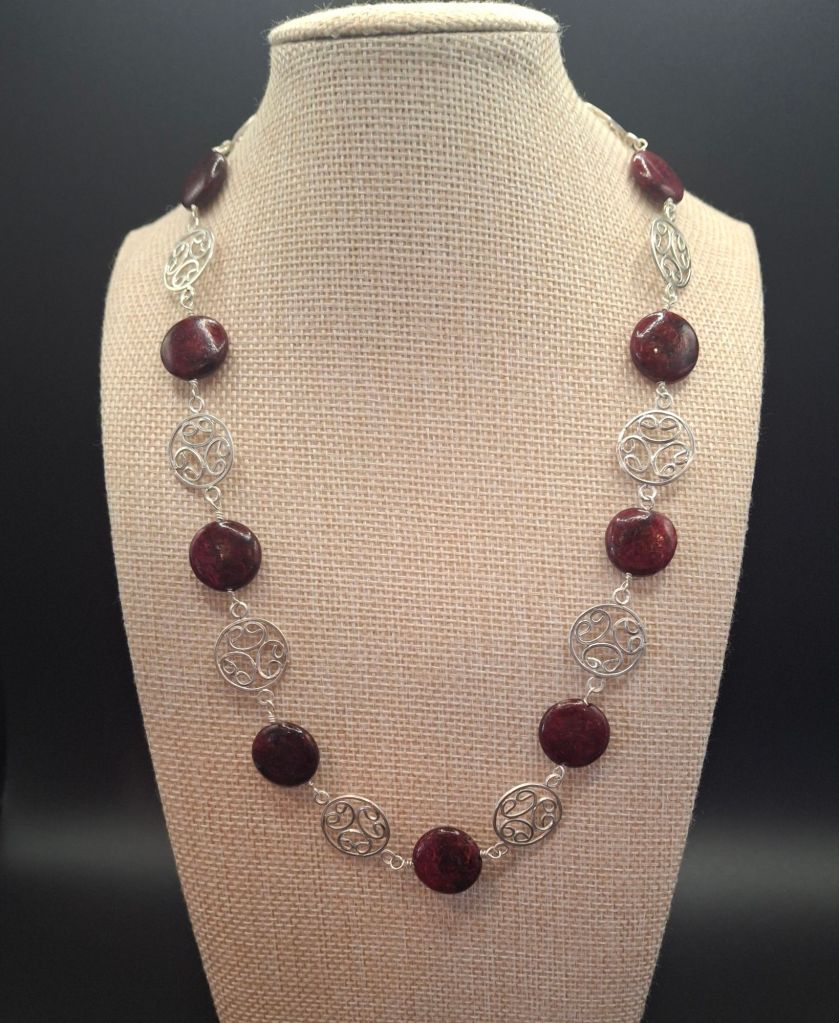
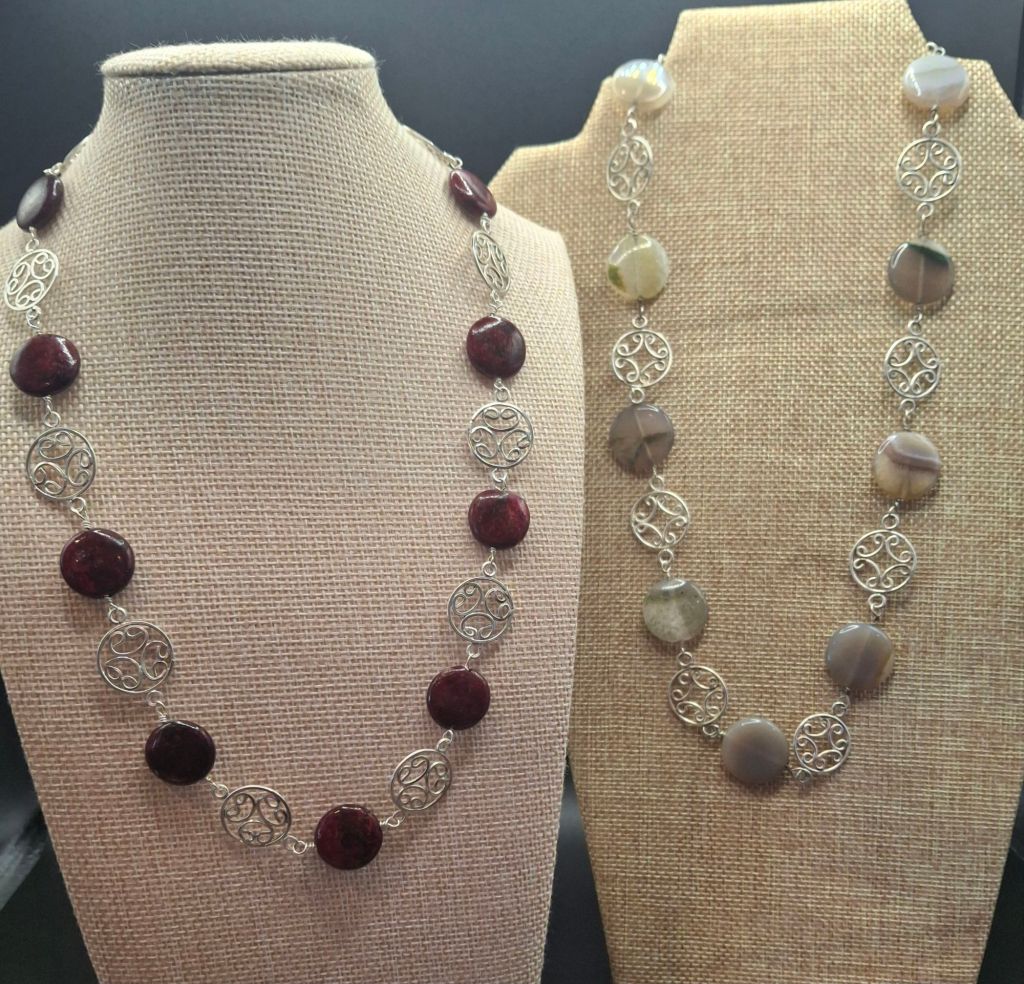
The finished necklace is constructed the same way as making a Byzantine necklace with a simple hook and eye closure. The stones are 15-17mm red brecciated jasper. I did veer from the original in one additional way. In lieu of 10 filigree motifs and 9 beads, with filigree at the ends, I did 10 and 11 beads, with beads at the end. Without those two extra beads, it was just barely long enough for me, and I knew it wouldn’t work for everyone. As this is going to a charity auction, I want it to work for as many people as possible. Here are some glamor shots, as well as a comparison photo between this one and the necklace I had made based on the Met example a few years ago.


Leave a comment