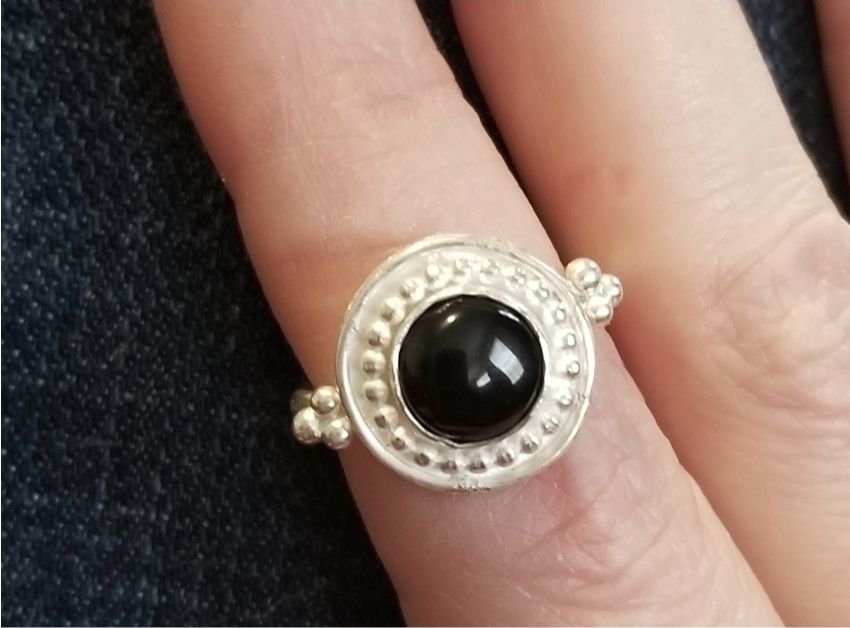
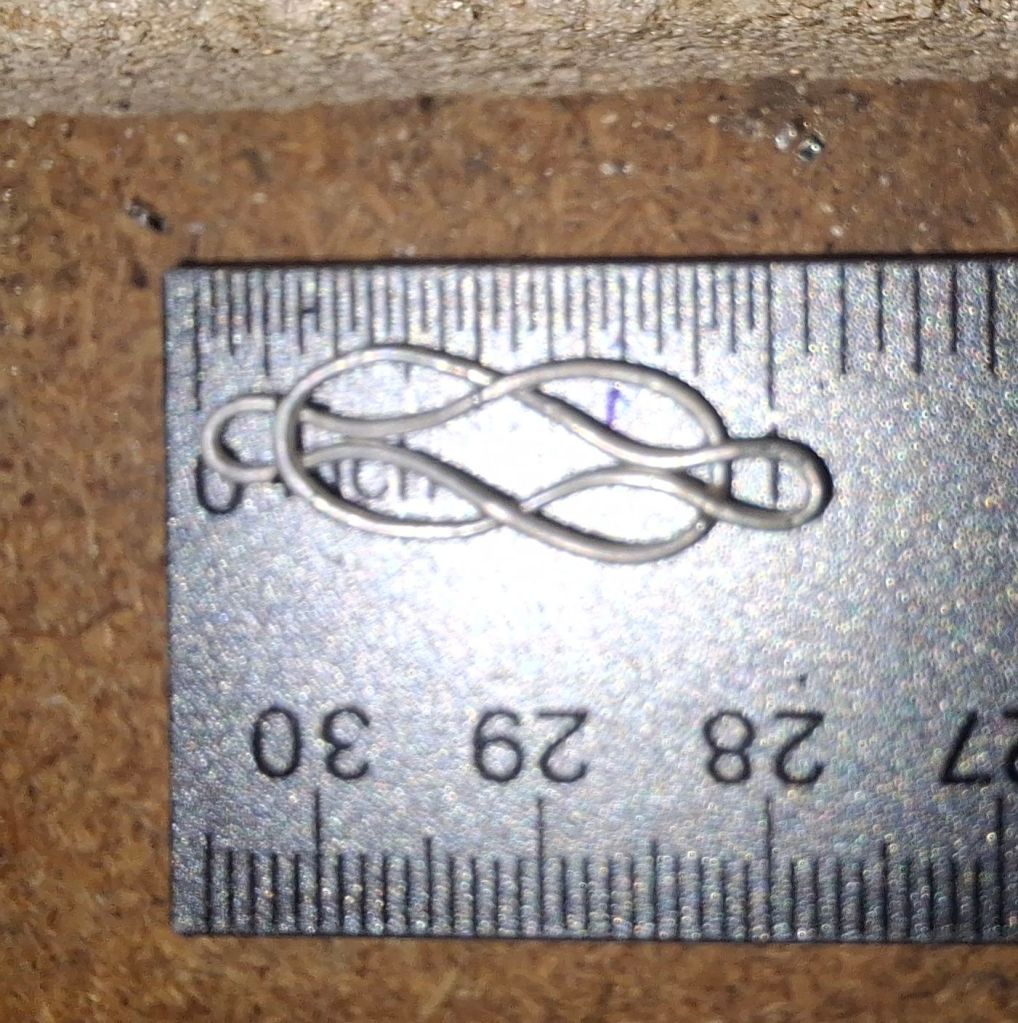
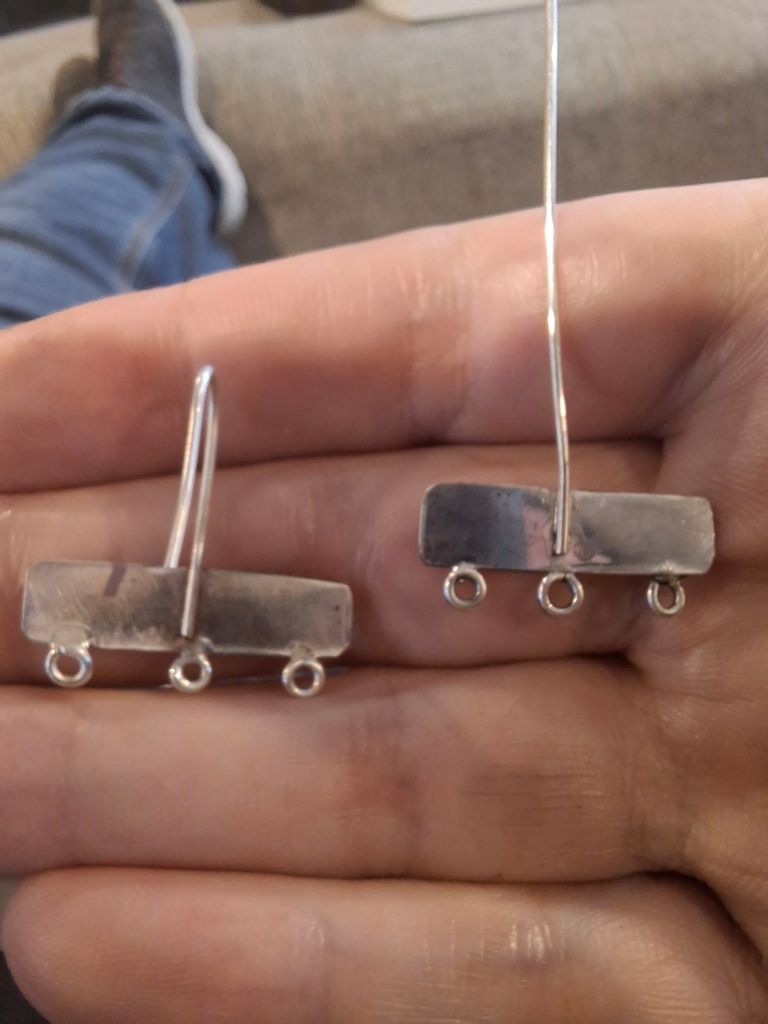
• An Tir West War is a large SCA event that happens July 4th week near Gold Beach, Oregon. It’s at a gorgeous site in a valley surrounded by lush hills, minutes from the ocean.

    Stromgard goes to war, piped along by her Excellency Elena Edgar. Photo by Finn de Blakewode

    This year, we had a baronial encampment, and were lucky enough to be immediately adjacent to a camp with many friends in it, and diagonally across the street from another camp with many friends. I’ll be honest and say that most of my war was spent between these three camps, meeting new people, hanging out, and there was much nerding out over Roman everything, metalwork of a variety of kinds, as well as mead, the SCA generally, and mundane topics. Without taking any proper classes, I managed to learn how coins are struck, courtesy of Max, who was doing so in camp.

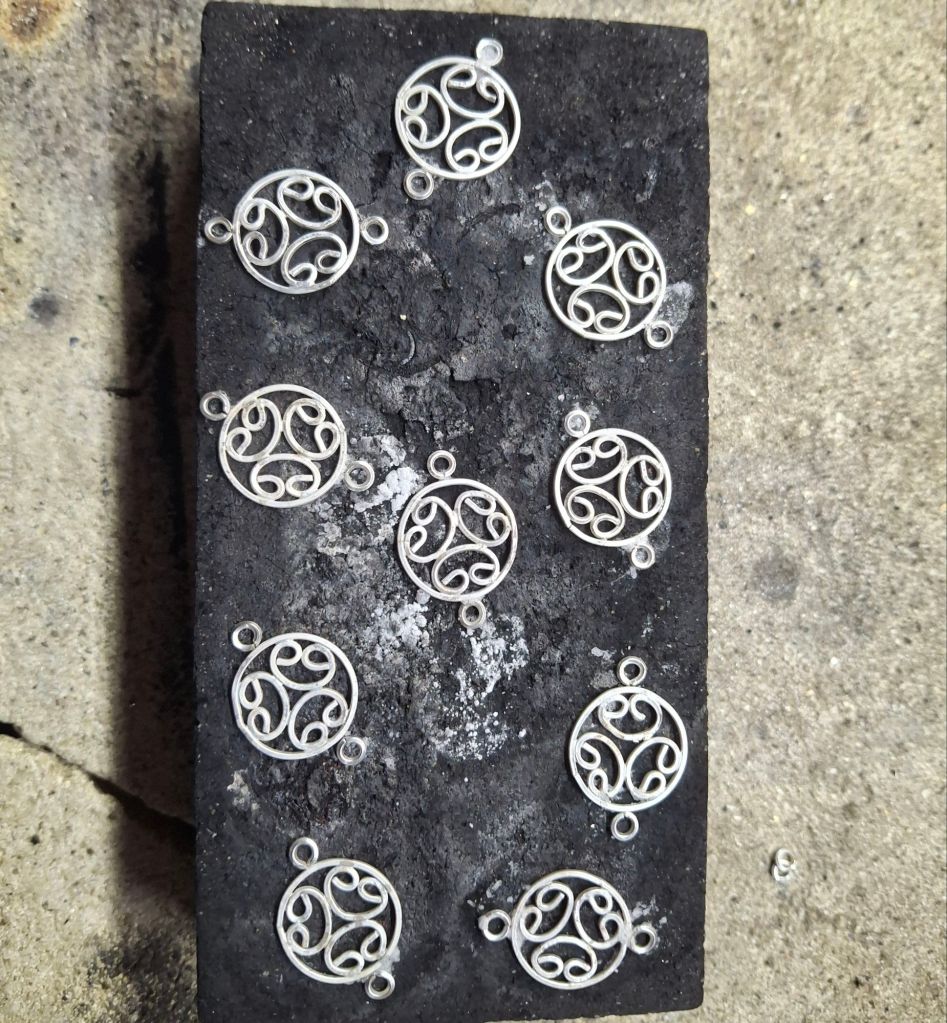
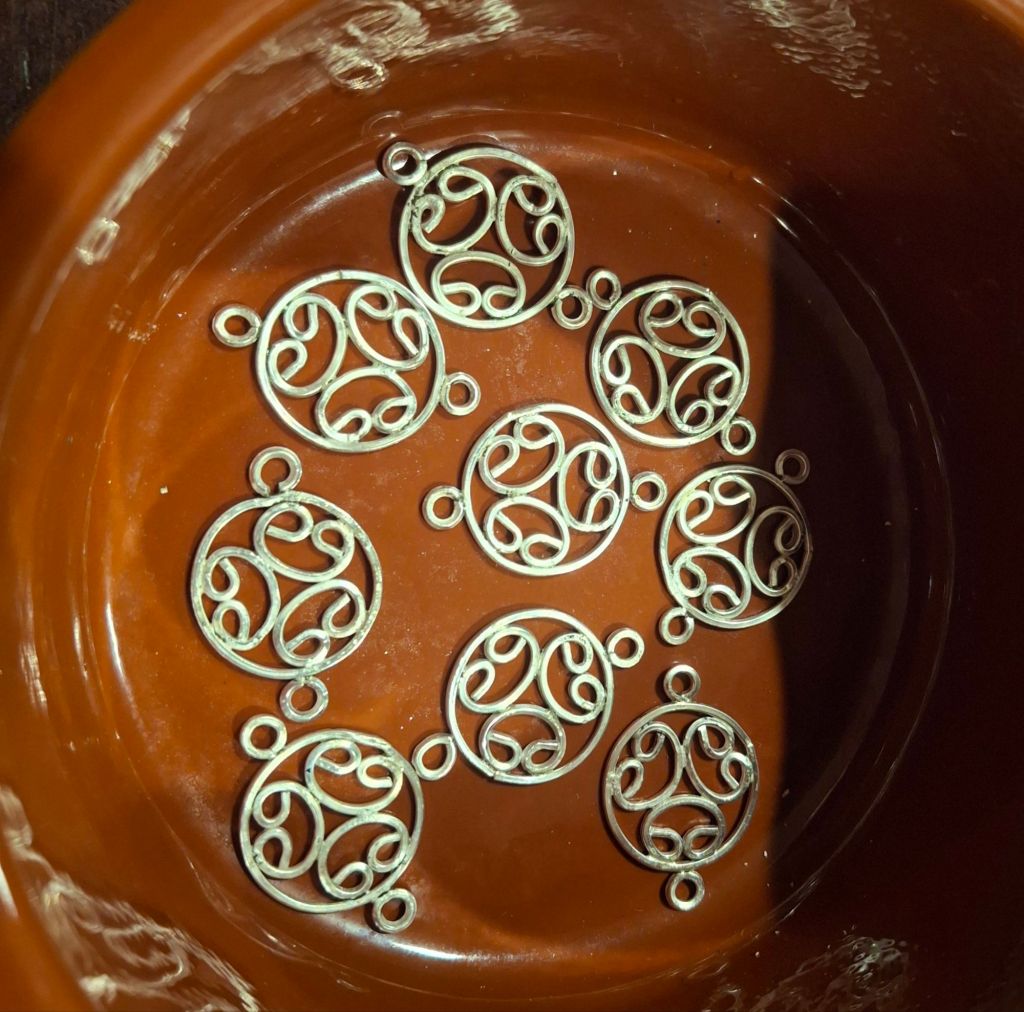
    Speaking of classes, I truly did not take any classes. The ones I was interested in were either bumping up before or in direct conflict with the ones I was teaching. I don’t like to jump from taking a class straight to teaching a class, so I skipped. I got the handout for one of them, though! I ended up teaching three classes. I was scheduled to teach two, but the first one filled up so quickly, they asked me to teach it again! There were approximately 17 students in the first one, 9 in the encore (without any advertisement other than the sign up sheet and word of mouth!). That was the soldering lecture. I told my husband on the drive down, and I told all my students, that I had thought it was such a niche topic that if I’d had two students, I’d be happy. So with 26, I was over the moon. In the second class, EVERYONE had some experience with soldering, as well. Including the current king of the Outlands, who does spectacular eutetic (copper salt) soldering. He was kind enough to share photos during the petting zoo portion of class, since I have not successfully done that myself.

    Pre-class photo, waiting for students to arrive. Photo by Mistress Gulenay

    The last class was All About Necklines. I got both of my passions in this war! It was also well attended, with, I think, 14 students. It was well received and there was some great discussion. It really felt like people learned some things and there were one or two “aha!” moments. It’s a beginner sewing class, with beginner to quasi-intermediate techniques. I did manage to forget the pattern that I promised to provide in the handout. I need to include the pattern as PART of the handout, really. So that’s going up on this site today, as soon as I can get the scanner to work. More accurately, as soon as my husband gets the scanner to connect.

    Overall, it was a lovely event. I get up early. Like, 5:30 early, when camping in the summer, when no one else is up. So chilly mornings were spent curled up with a hoodie and a book until the rest of camp stirred. It was modern but magical. My goal for next year is to have our period encampment fleshed out, as well as my winter wardrobe, and make that time feel period appropriate and magical.

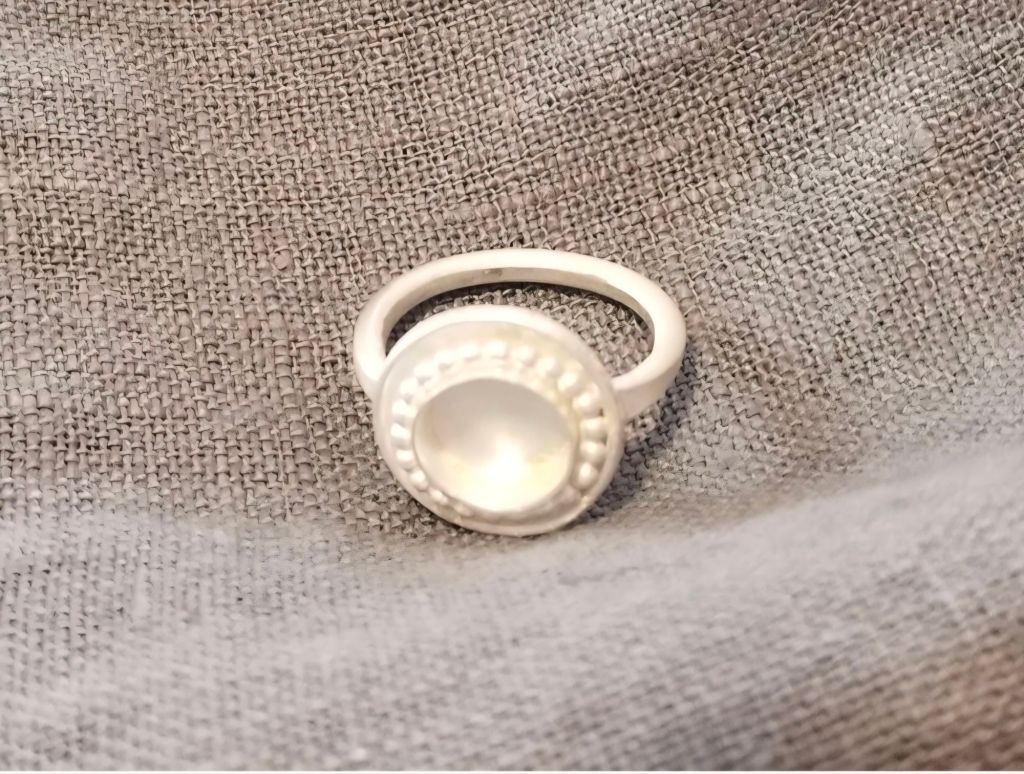
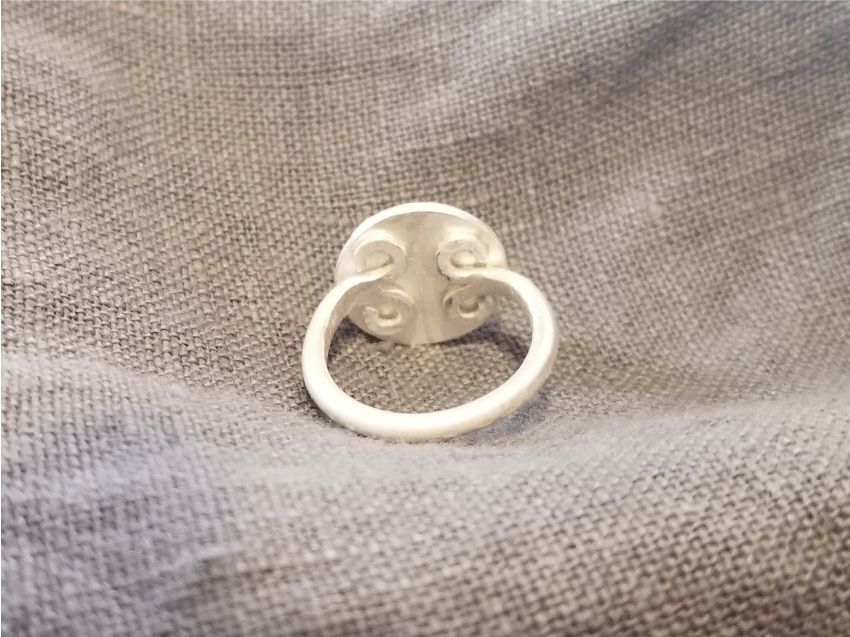
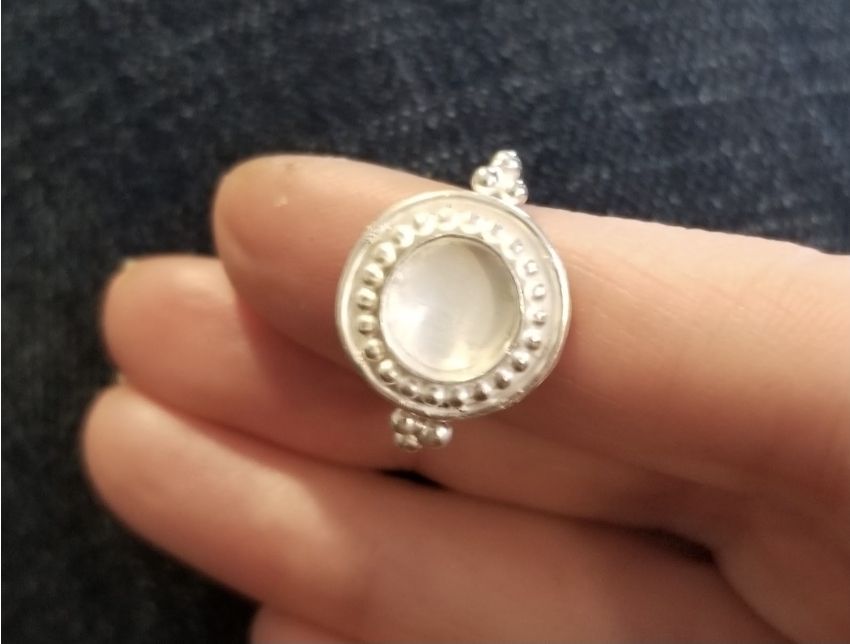
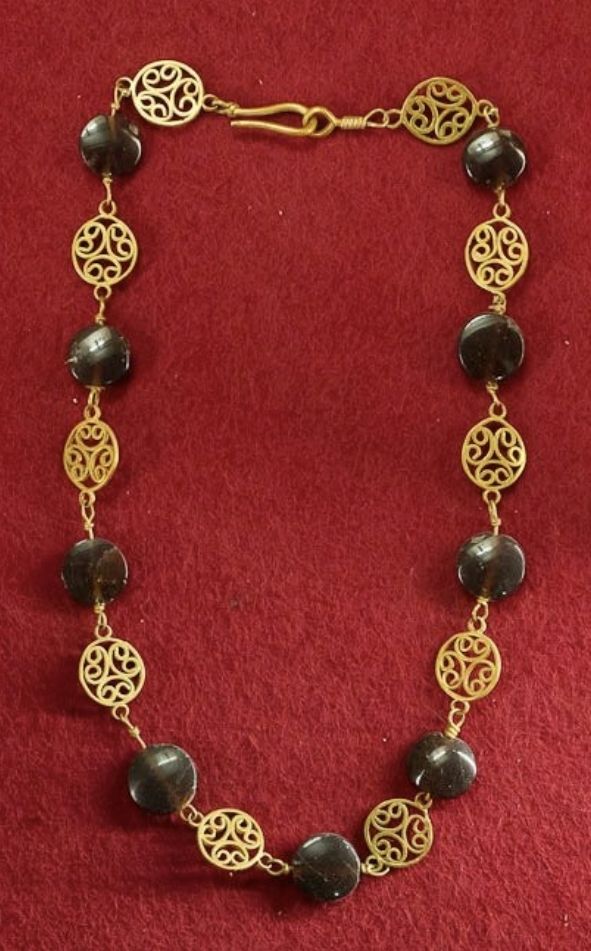
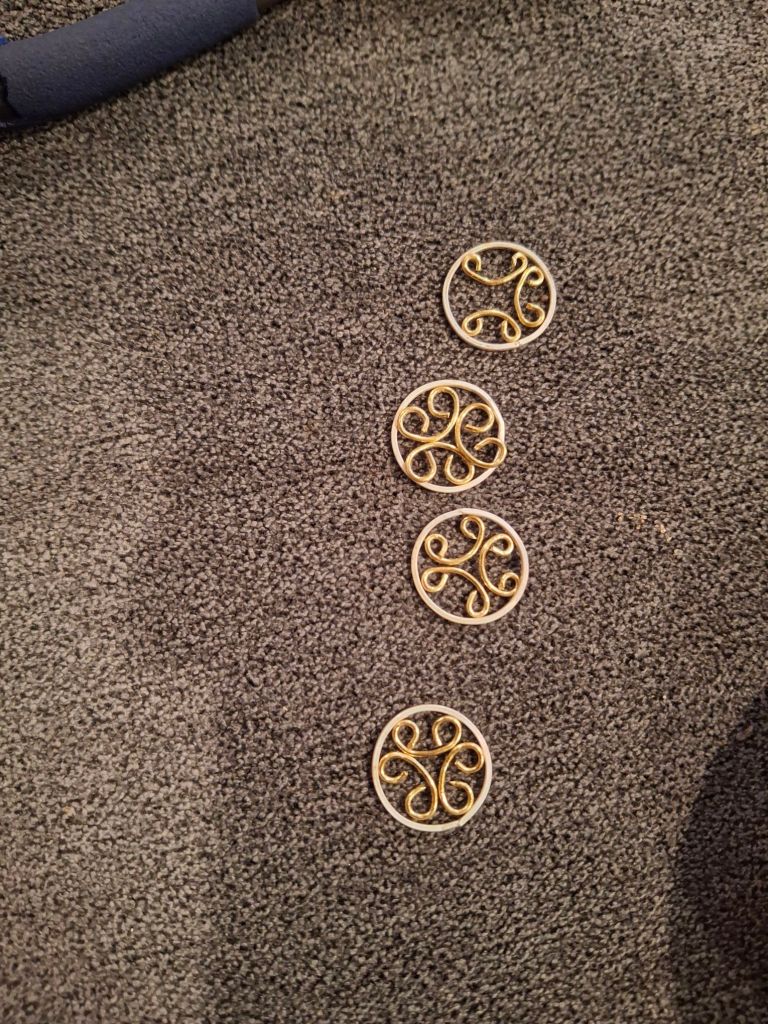
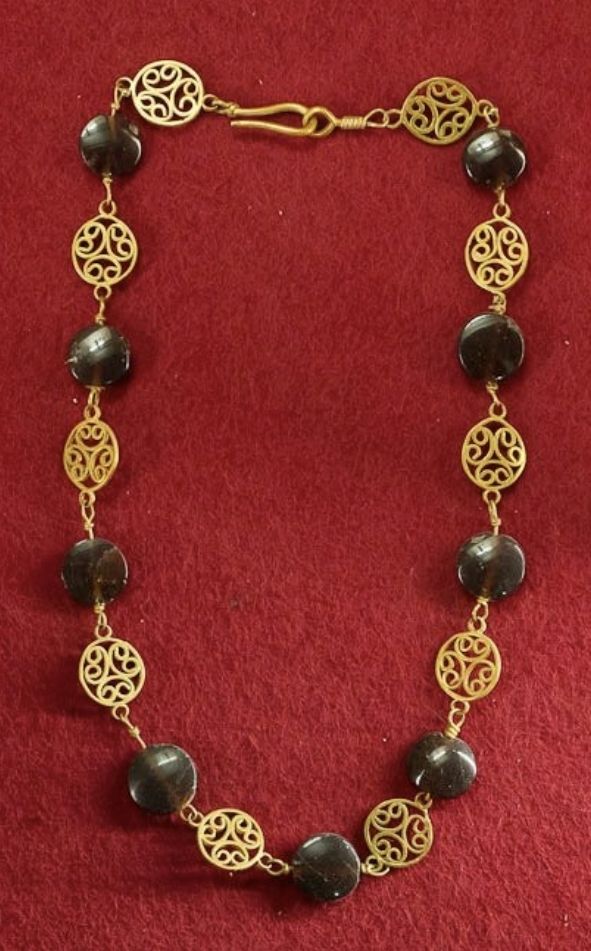
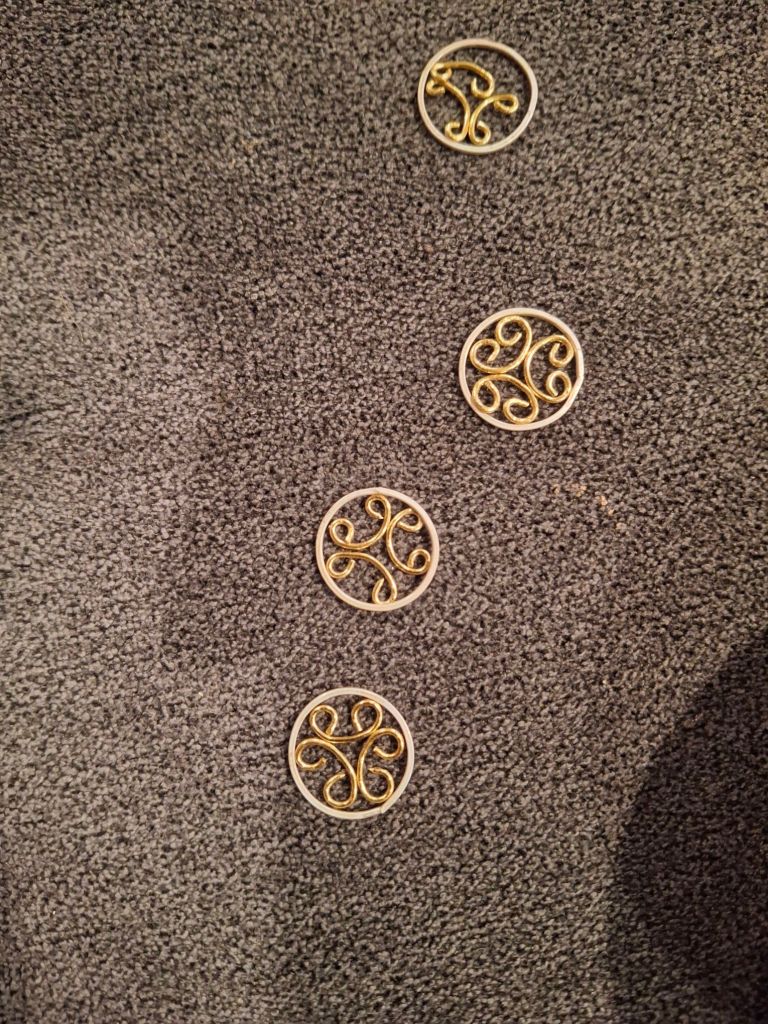
  • This is the final segment of the Byzantine Necklace. I think this was my second or third soldering project at the time, six years ago, and my first filigree. I share my failure as part of the post, because I definitely did not succeed the first time. I did eventually make a closer reproduction of the original, with appropriate beads, but for this first one, I used a necklace I had already started.

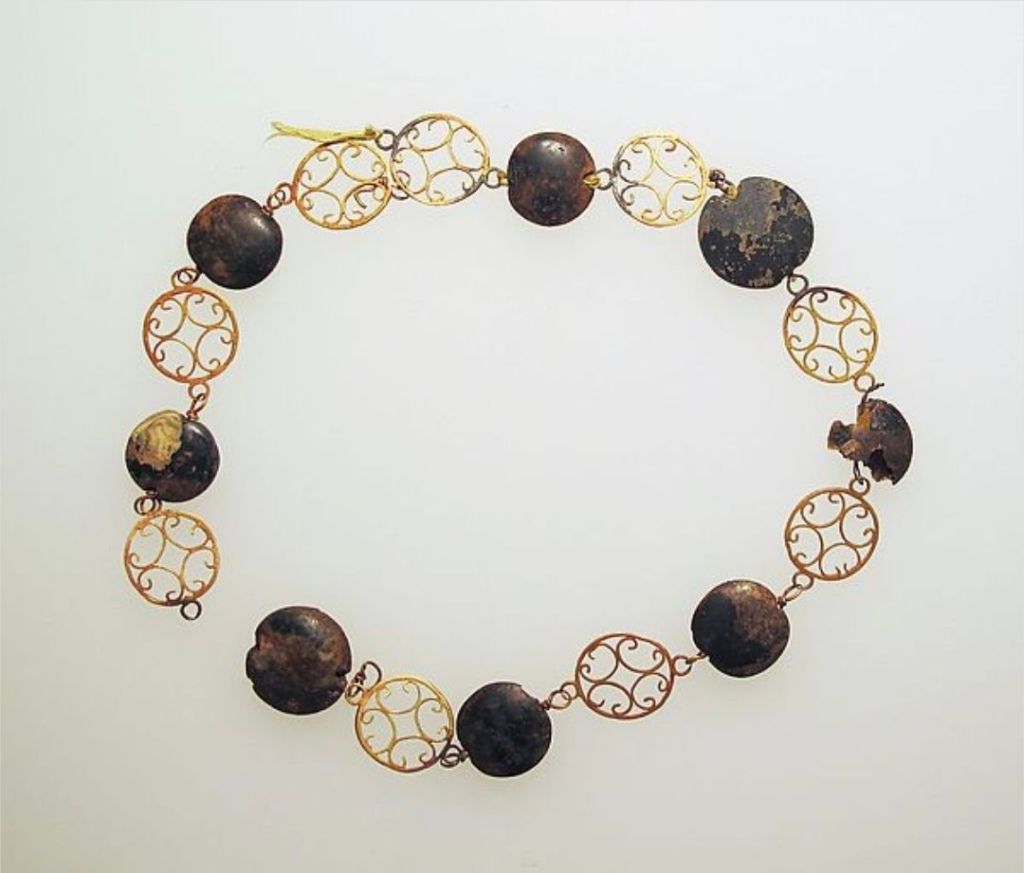
    The original necklace I started out with for this series of posts had a filigree hook and eye closure. I had never tried filigree before, but I definitely wanted to! So here’s my adventure with that, keep in mind that this was my first real attempt at it (so there may be a better way out there of doing things).

    I liked the original necklace, but it’s on display with a second, very similar one, that I liked a bit better. So I decided to base my closure on that one. The original is gold, as are most extant Byzantine jewelry pieces that have this degree of delicacy. However, two things, really: 1, gold is expensive. 2, more important to me, even, I’m horribly allergic to gold. Ergo, I used silver. Silver has similar, though not identical, working properties to gold, and there are examples of delicate silver jewelry and silver filigree in other cultures in the 7th and 8th centuries. It’s not too much of a stretch.

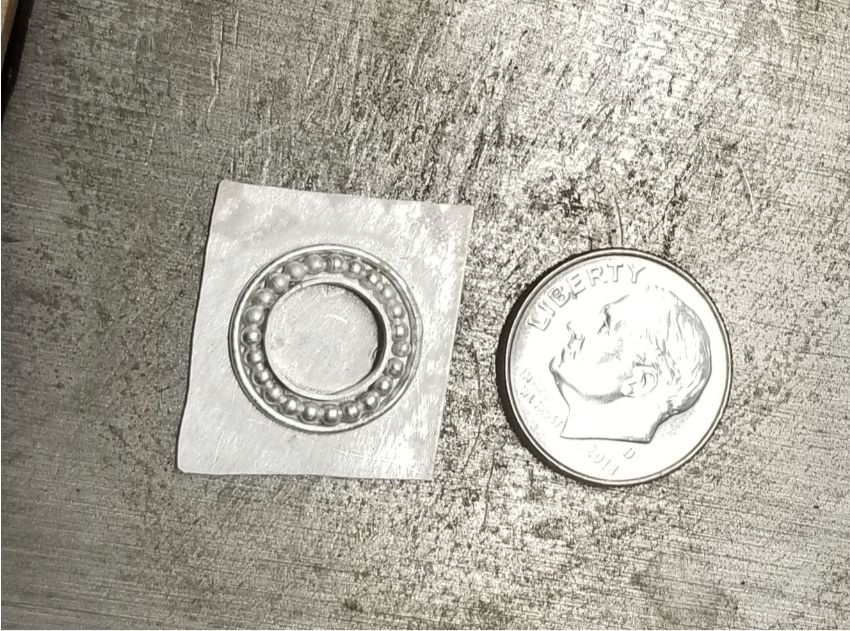
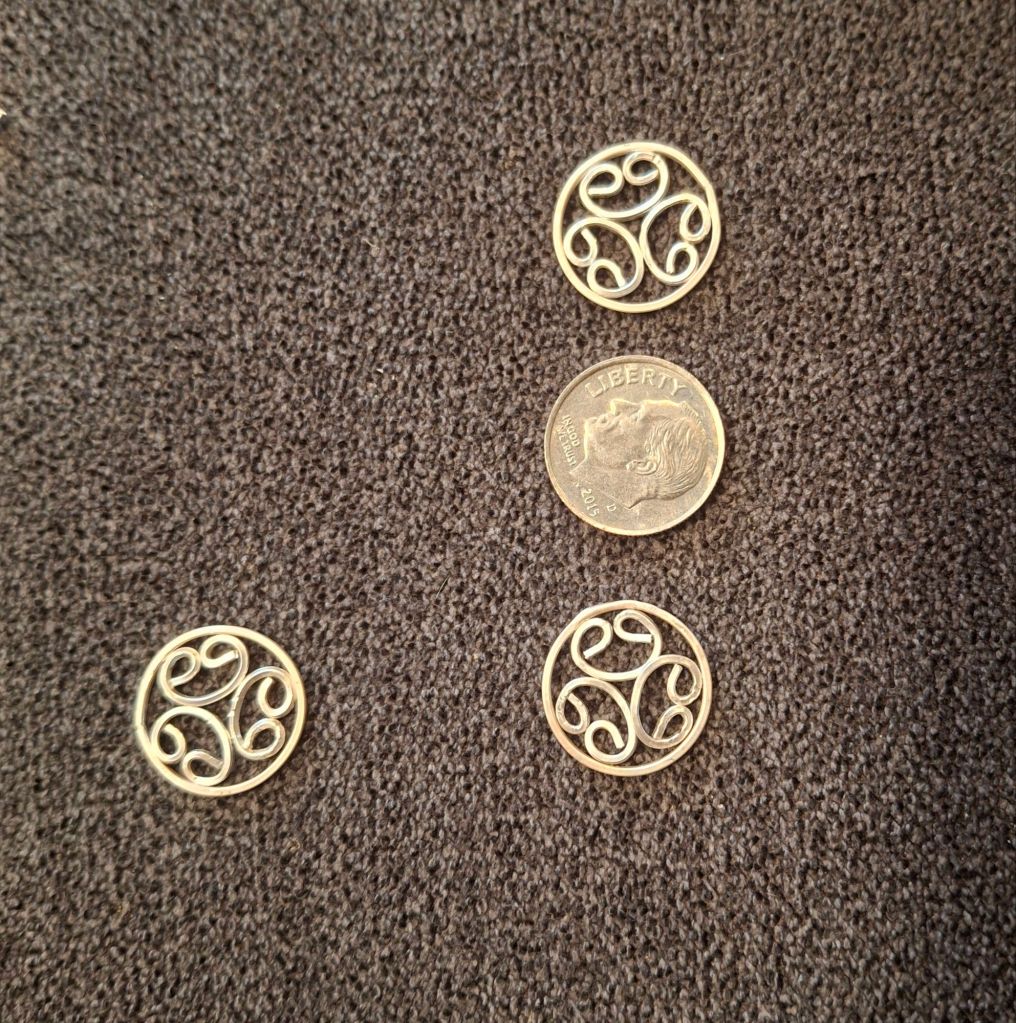
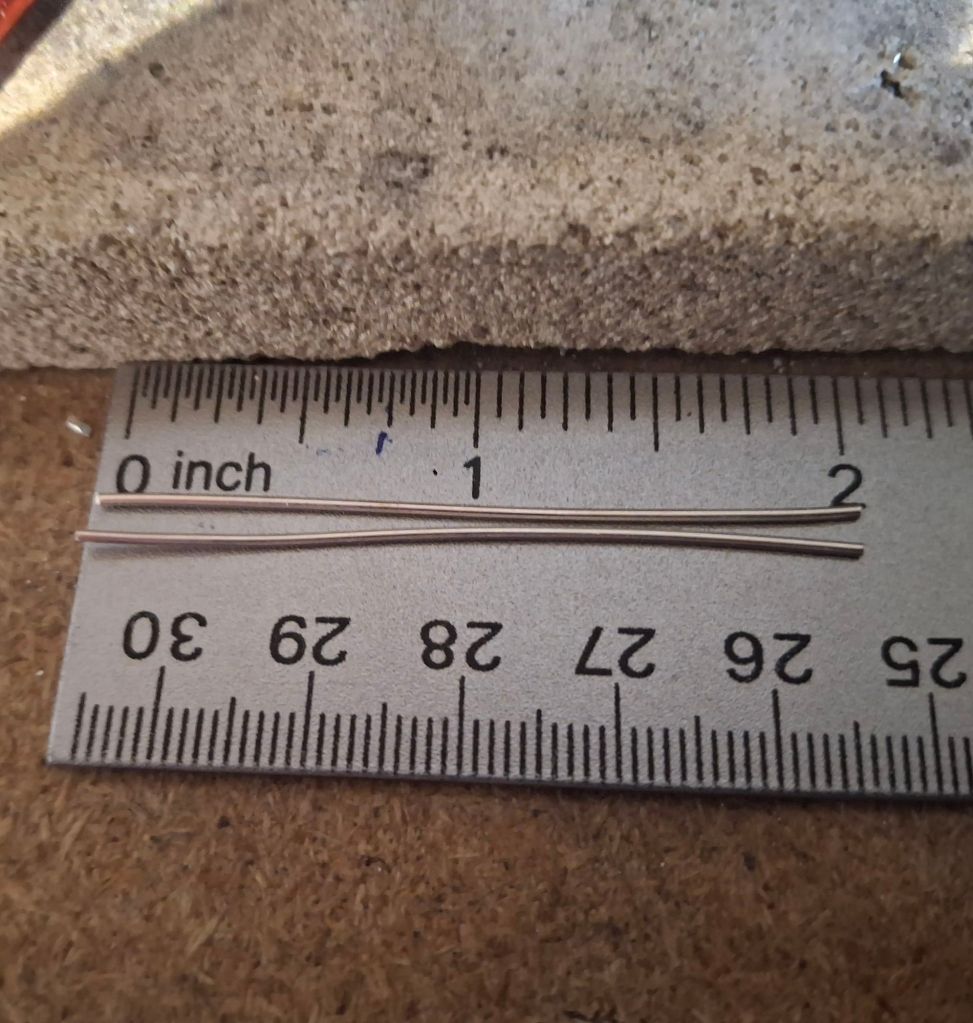
    I started out by tracing a nickel, and sketching out the design.

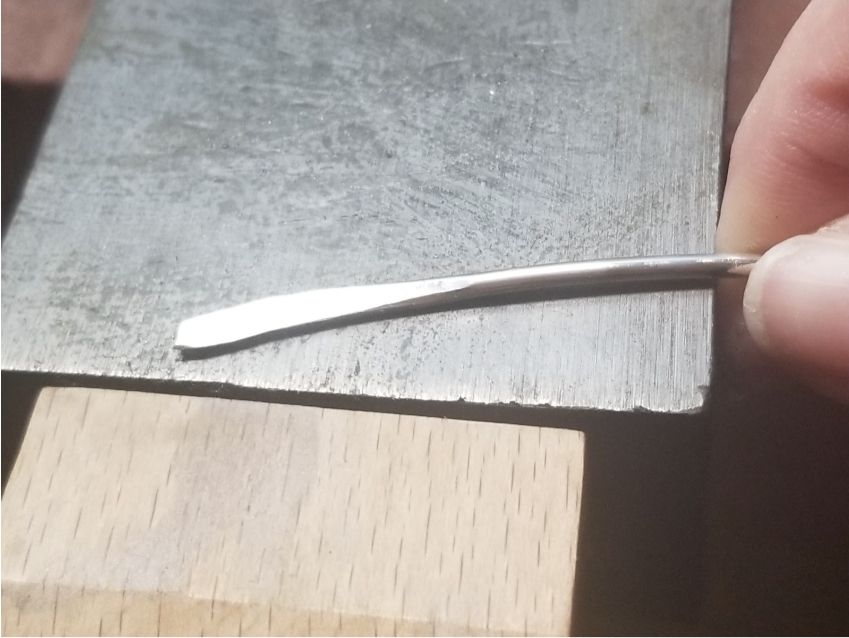
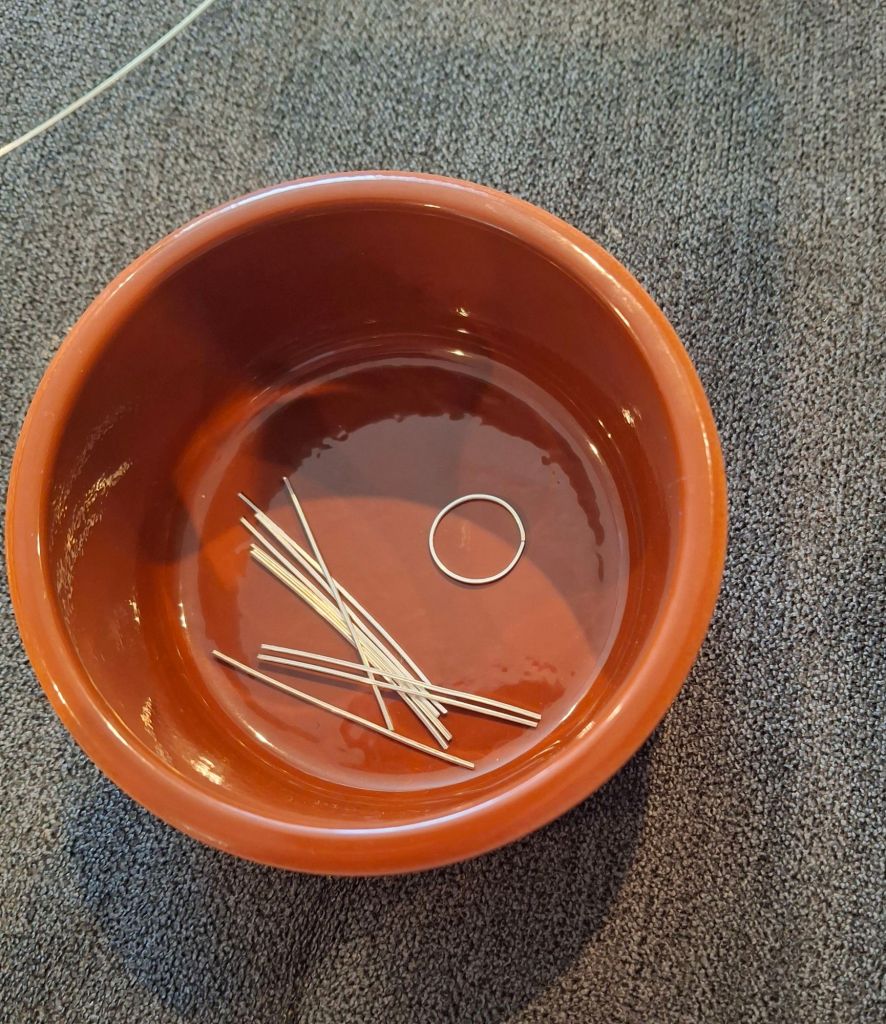
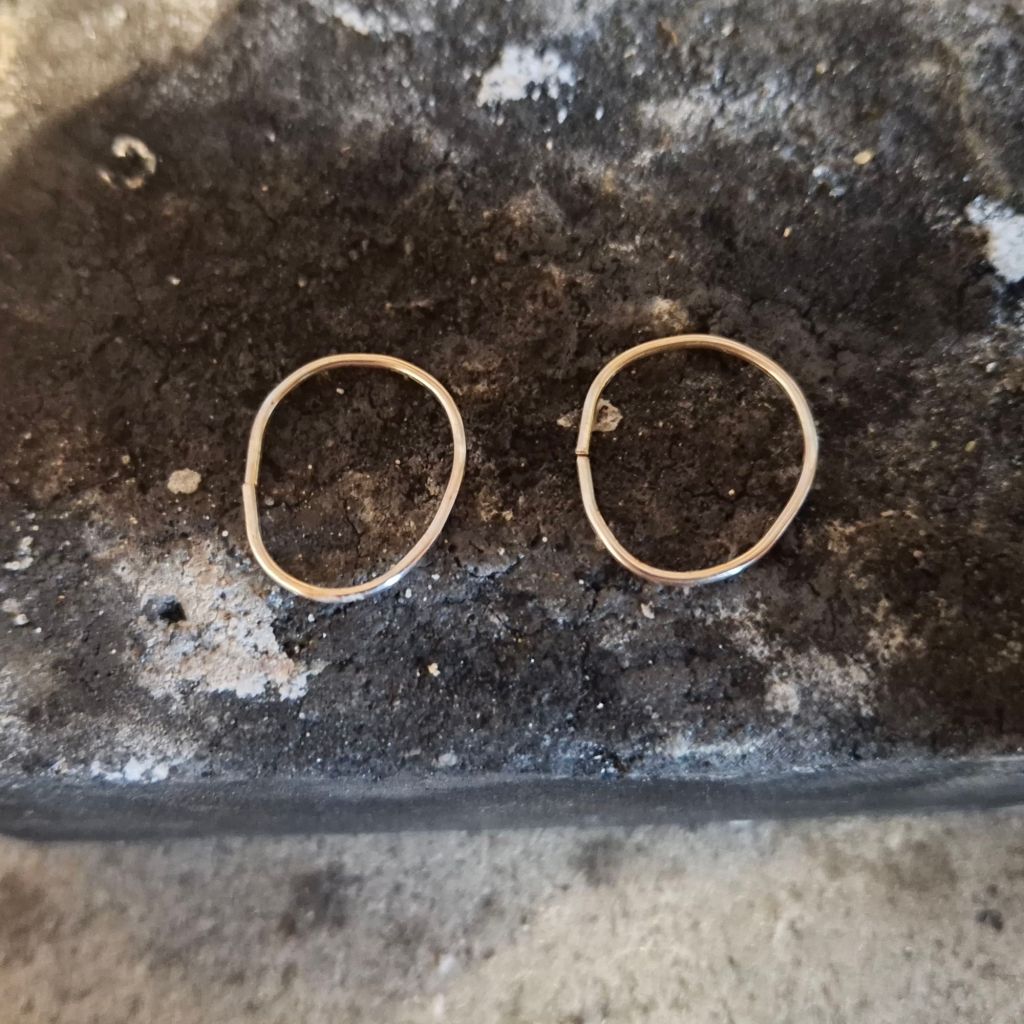
    I used sterling silver beaded wire for the outer edge, and 20 gauge fine silver for the inner parts. I used the sketch as a guide for forming the pieces.

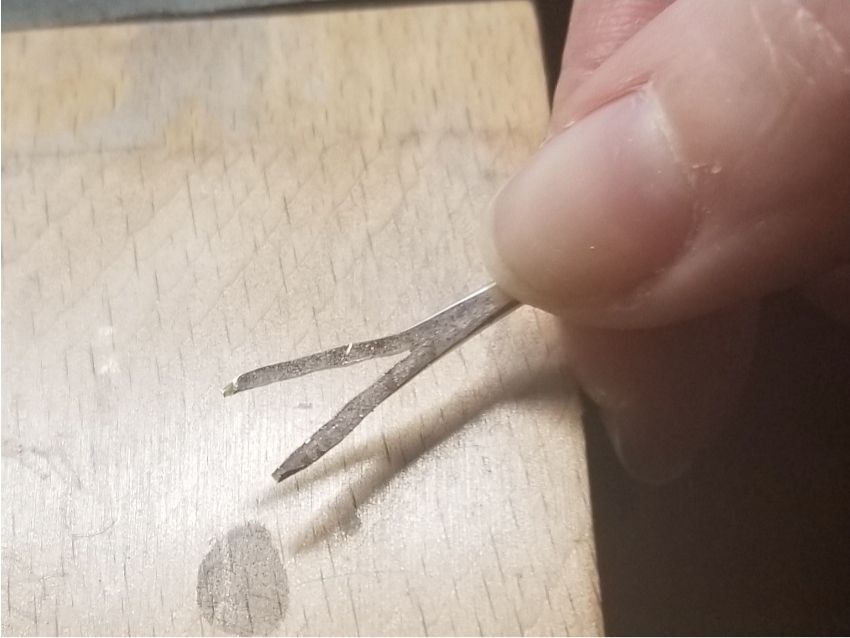
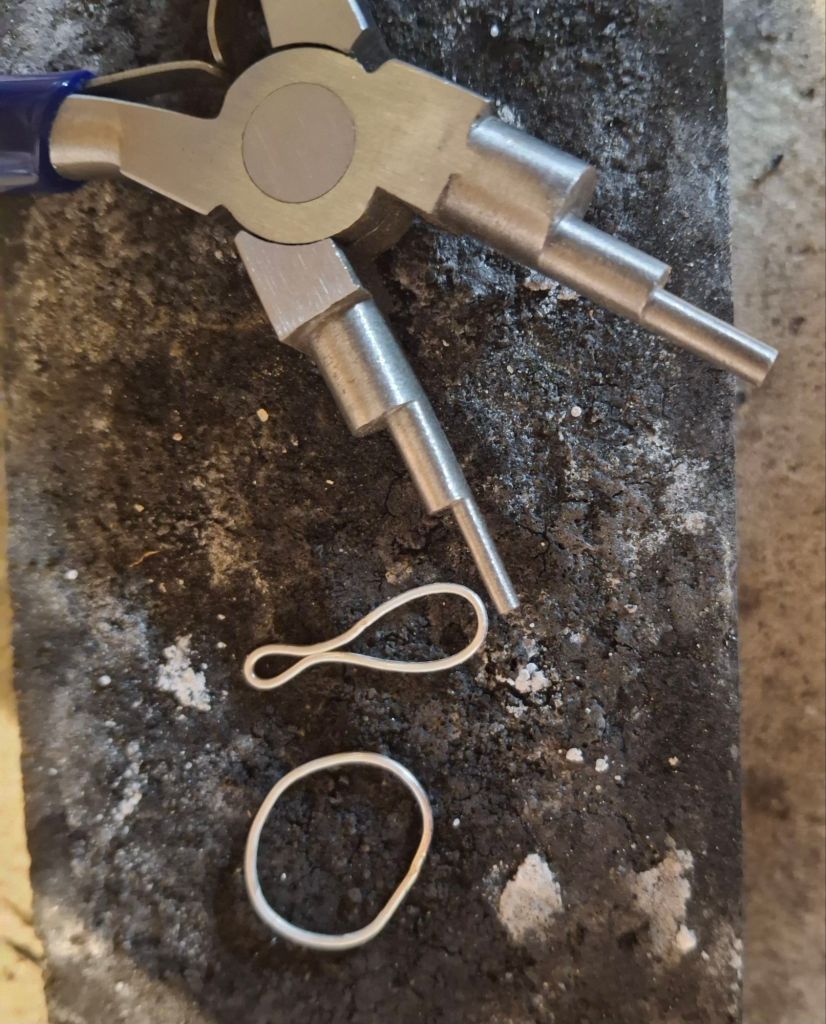
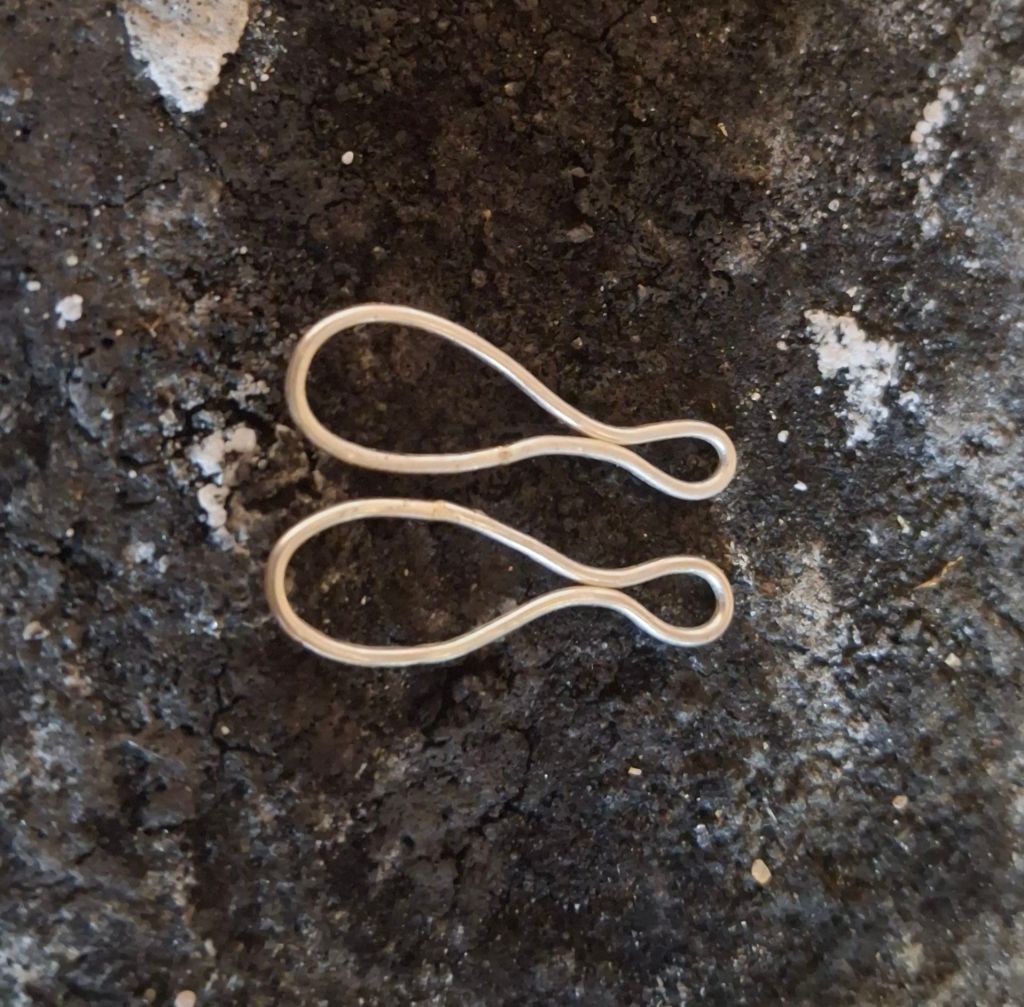
    I tried a few different methods for the inner parts, but this is what worked the best. 

    It helps to finish the cut ends at this point.

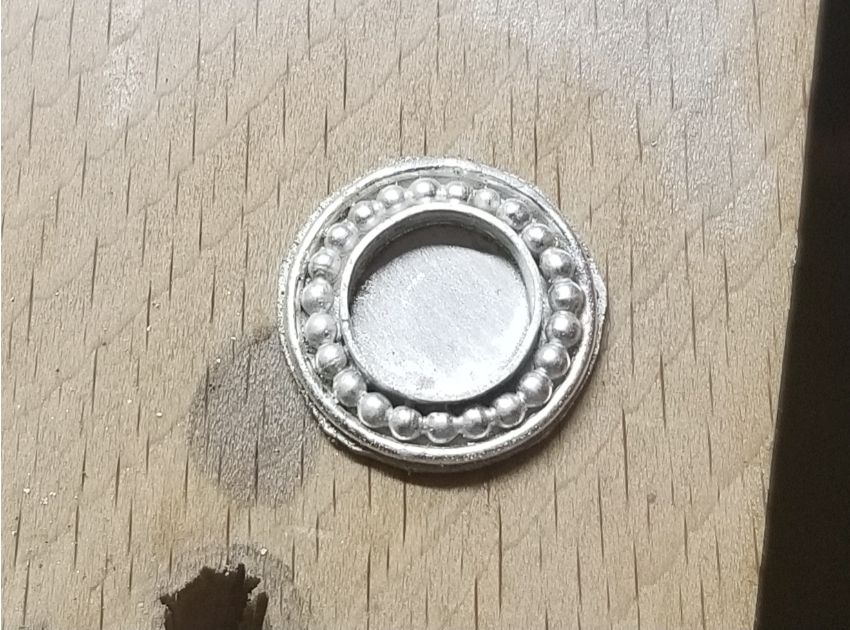
    And there’s my first attempt. I learned, through some trial and error, that it’s easiest to attach the inner pieces to each other first, and then attach the outer ring.

    I got this little guy all the way to this point. I was able to get everything attached, in three stages, except one of the little granules. The center piece was a little wonky, but it was together. As I was attaching the last granule, I decided to see if I could gently melt and reposition the center. This happened.

    So I had to try again. This time, I made the entire motif a little smaller (because I had a scrap of beaded wire that was *almost* the right length, honestly, and wanted to use it). And I need two of these, right? So when I tried again, I went ahead and made two. I used basically the same process as above, so this is mostly going to be a bunch of photos.

    Formed and ready to go out to the soldering station!
    Soldered center, not attached to the ring.
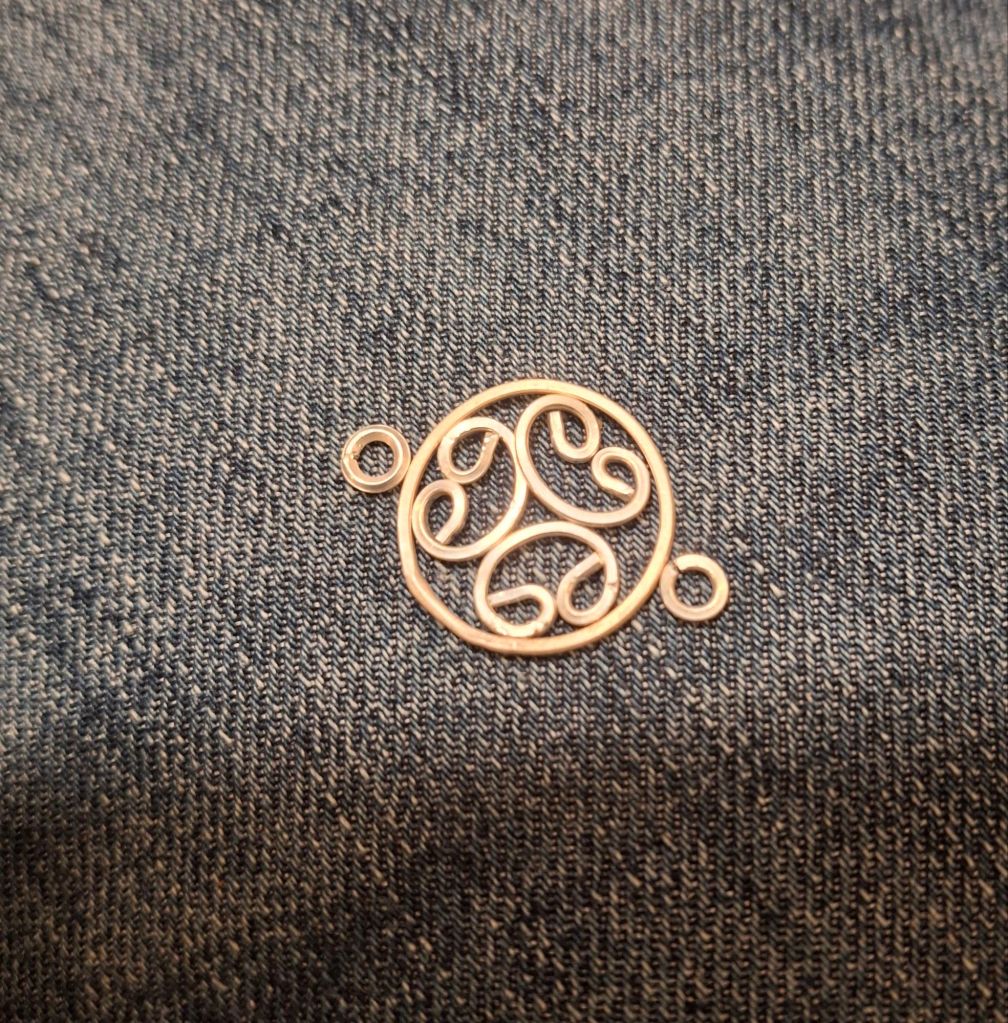
    Soldered to the ring! Also, I’m going to fix that gap, but not until the very end. For no real good reason.
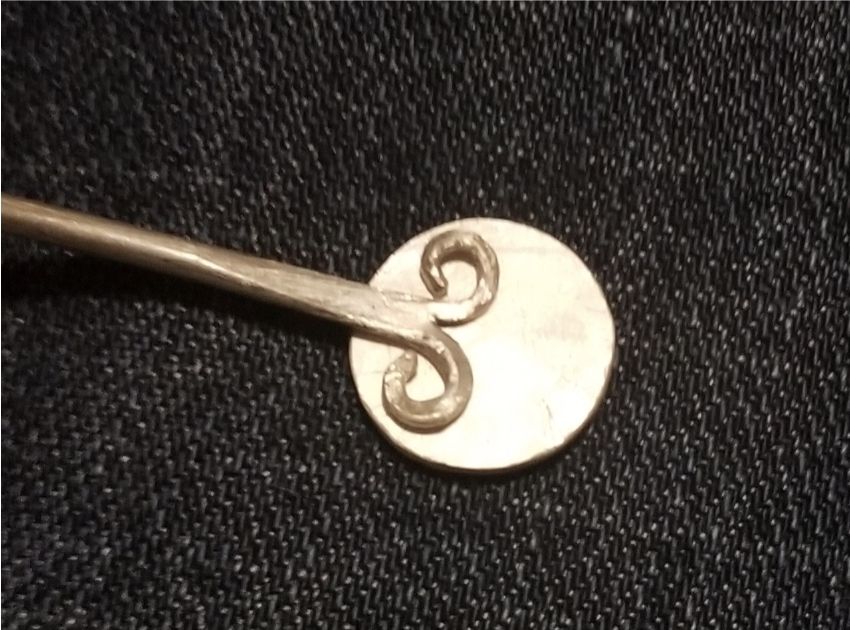
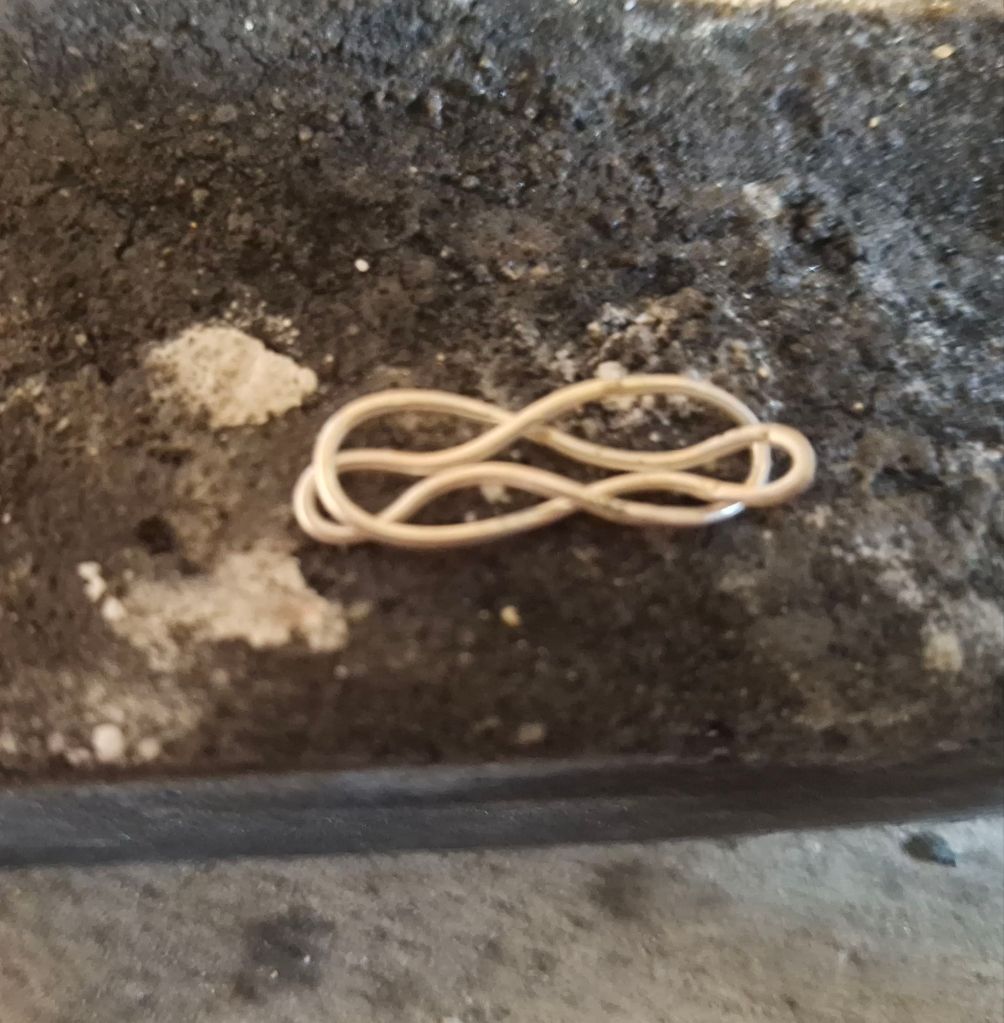
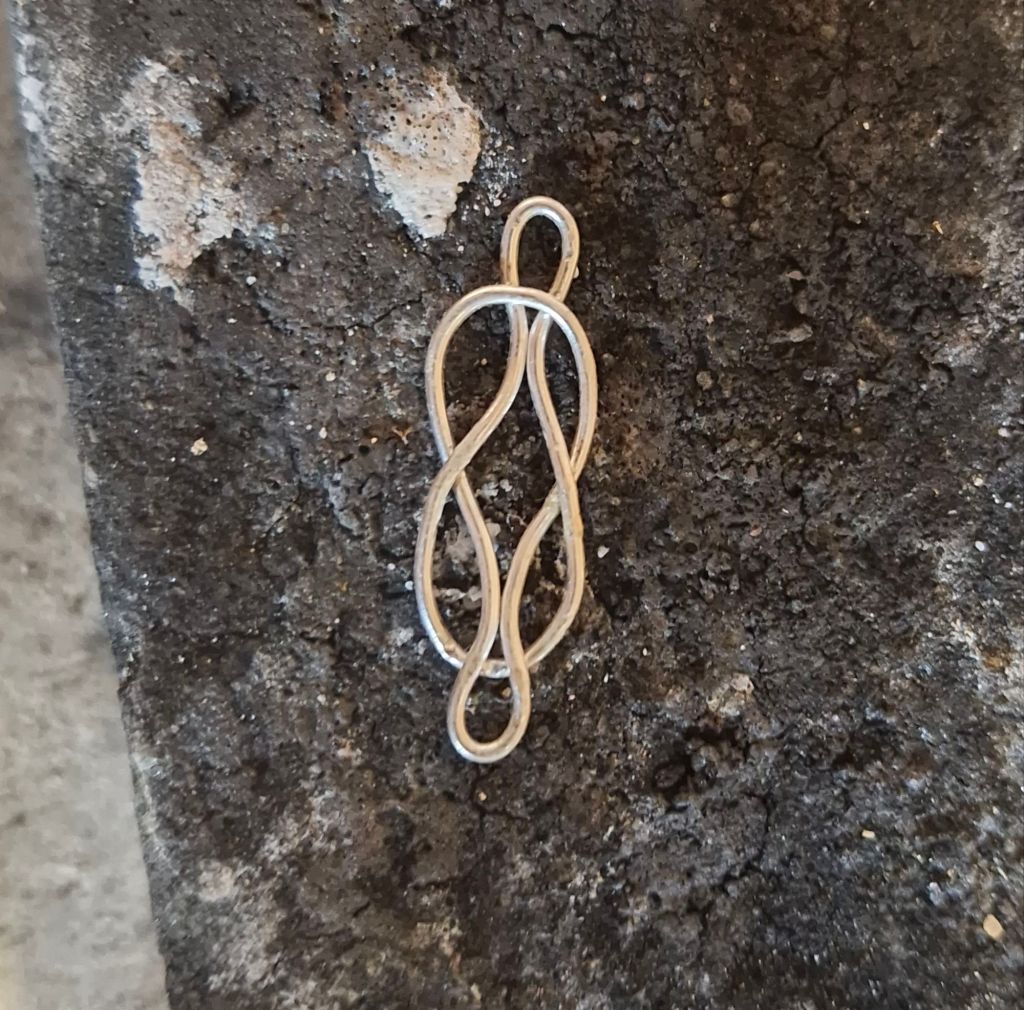
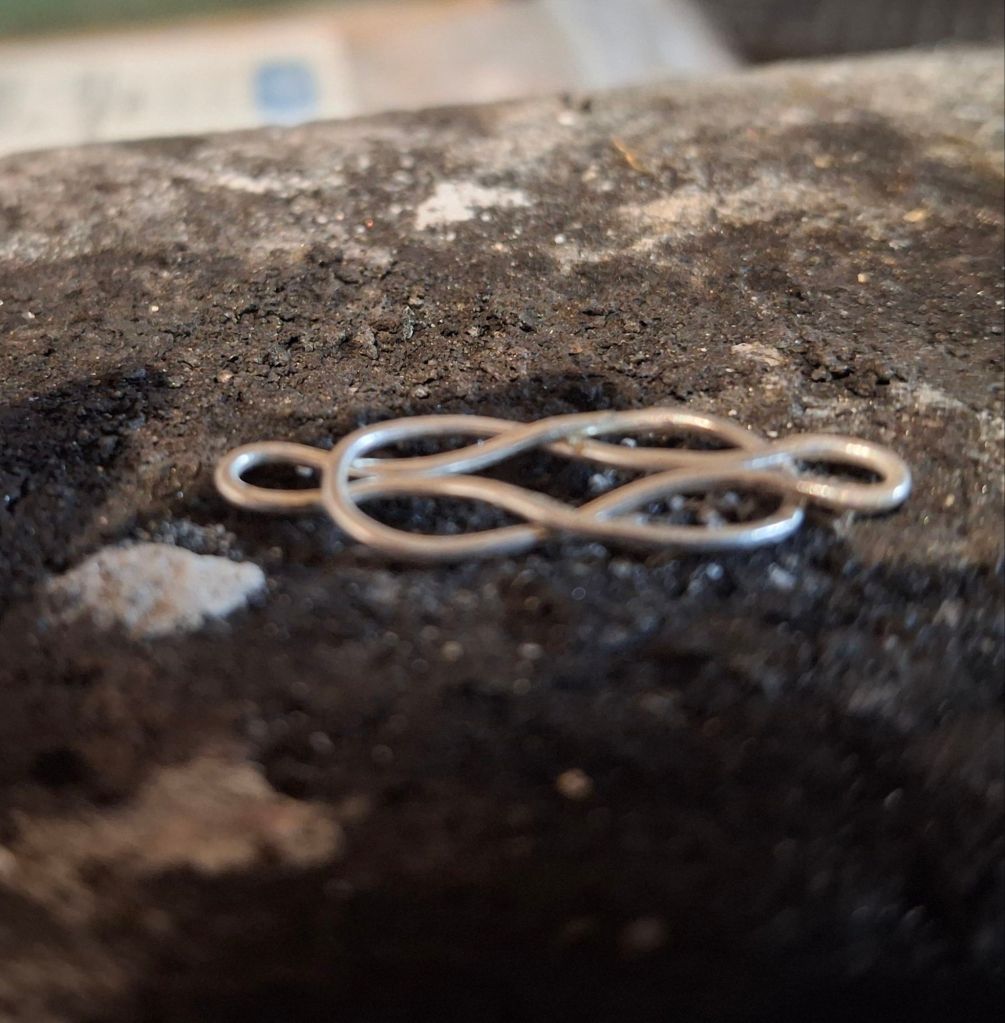
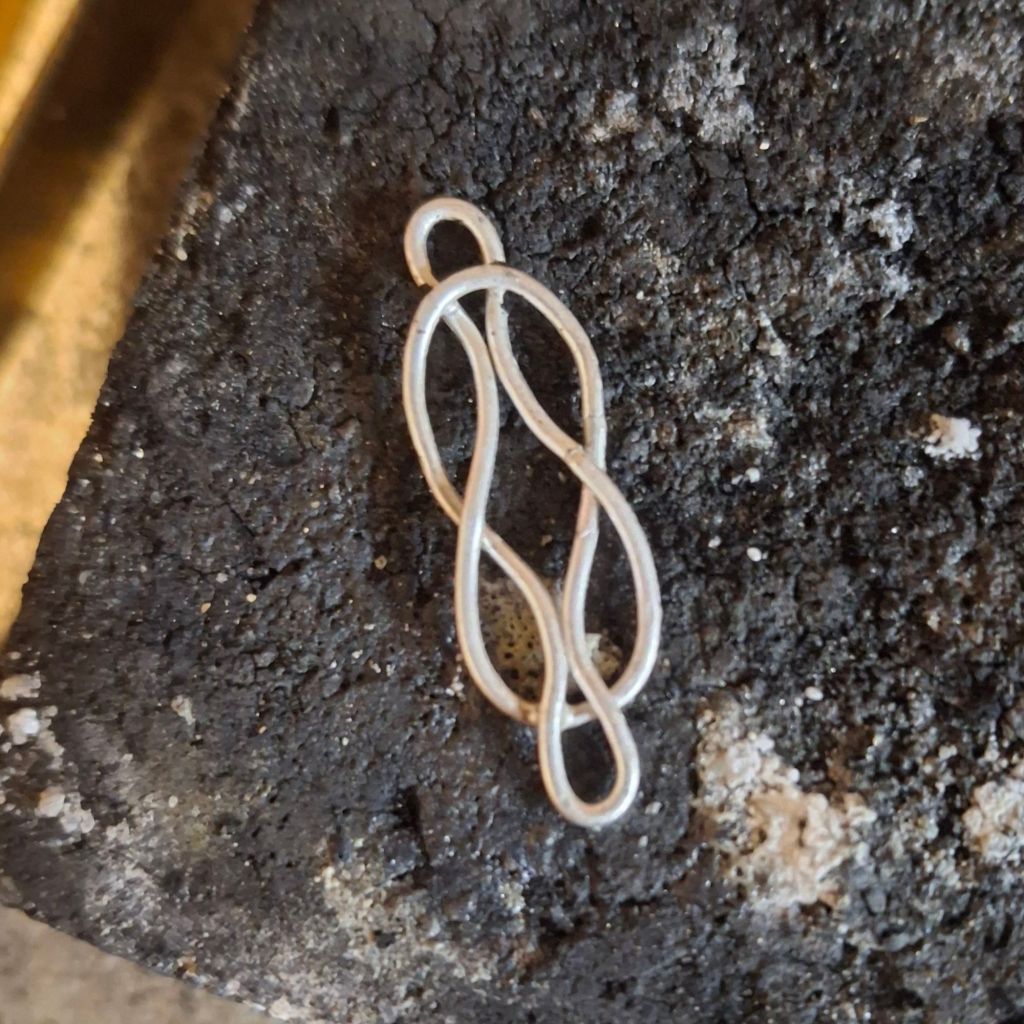
    This bail is much more accurate to the original! It’s 1x2mm half round sterling wire, but it took FOUR tries to get the pieces attached. The closer the pieces you’re attaching are in relative size and density, the easier it is to do, because they heat up at the same rate. So this took some more concentrated effort. And sheer luck. But I’m really happy with it.

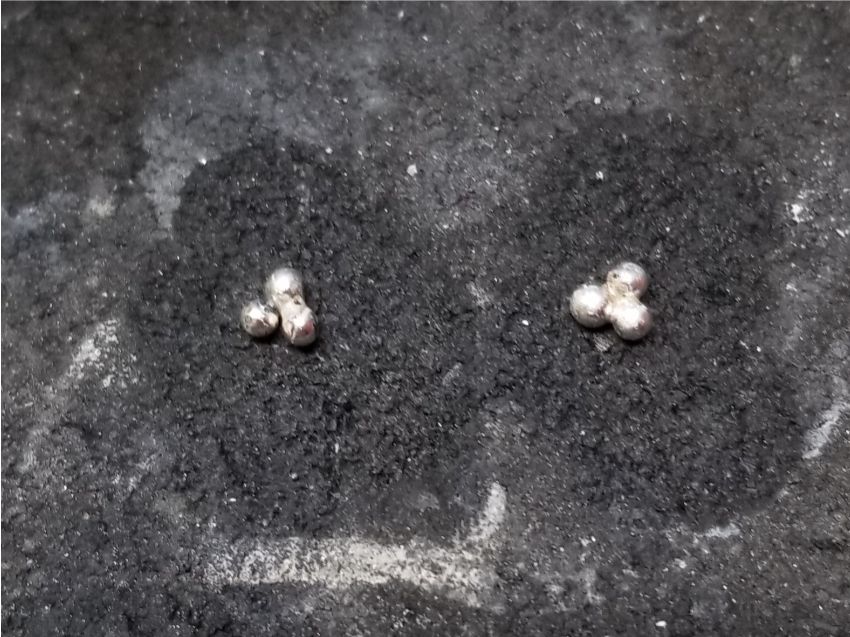
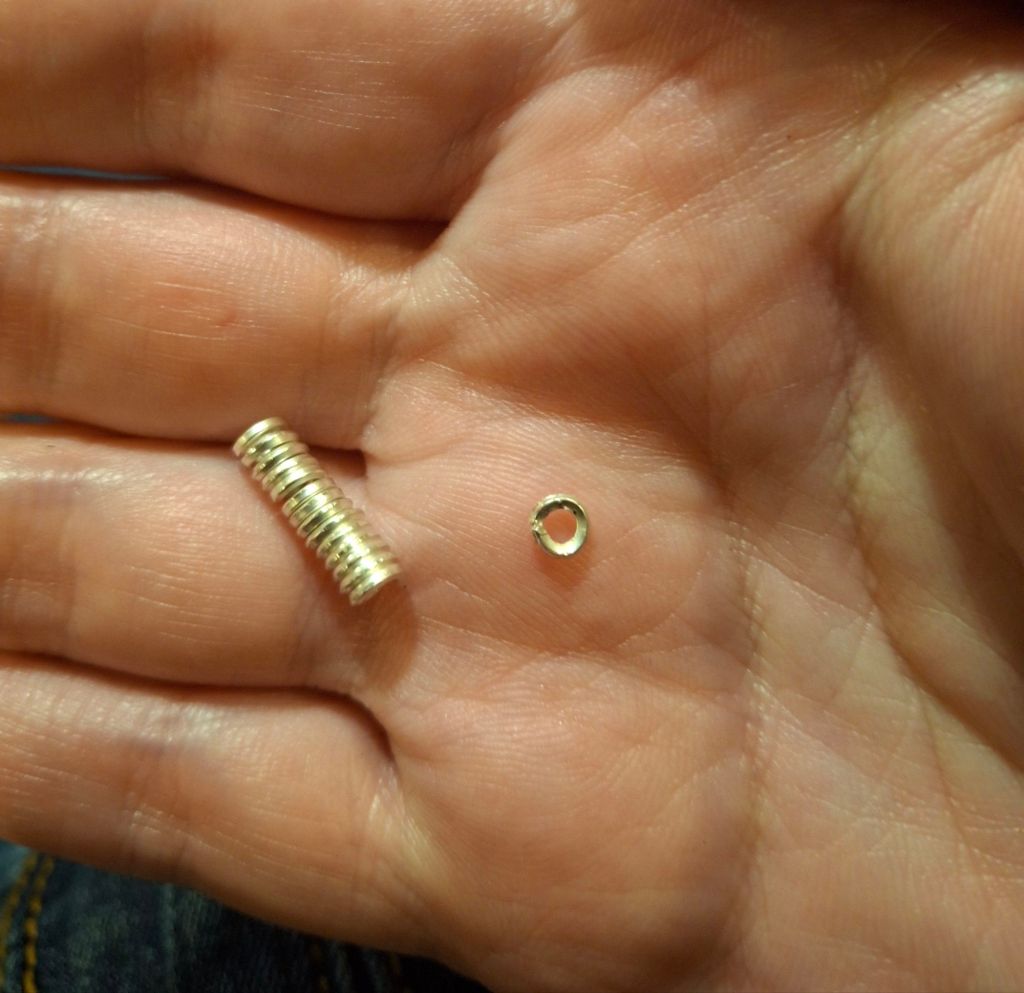
    The little granules are so fun to make. You start with scraps like this, right? Each one is maybe 3mm or so of my 20 gauge fine silver wire. Melt each one individually, and they ball up!

    It’s honestly fun.

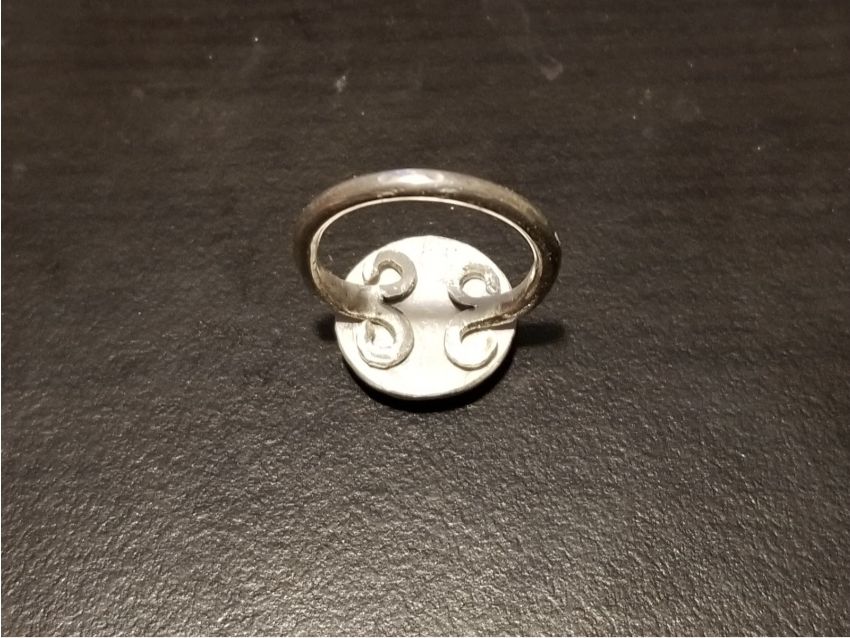
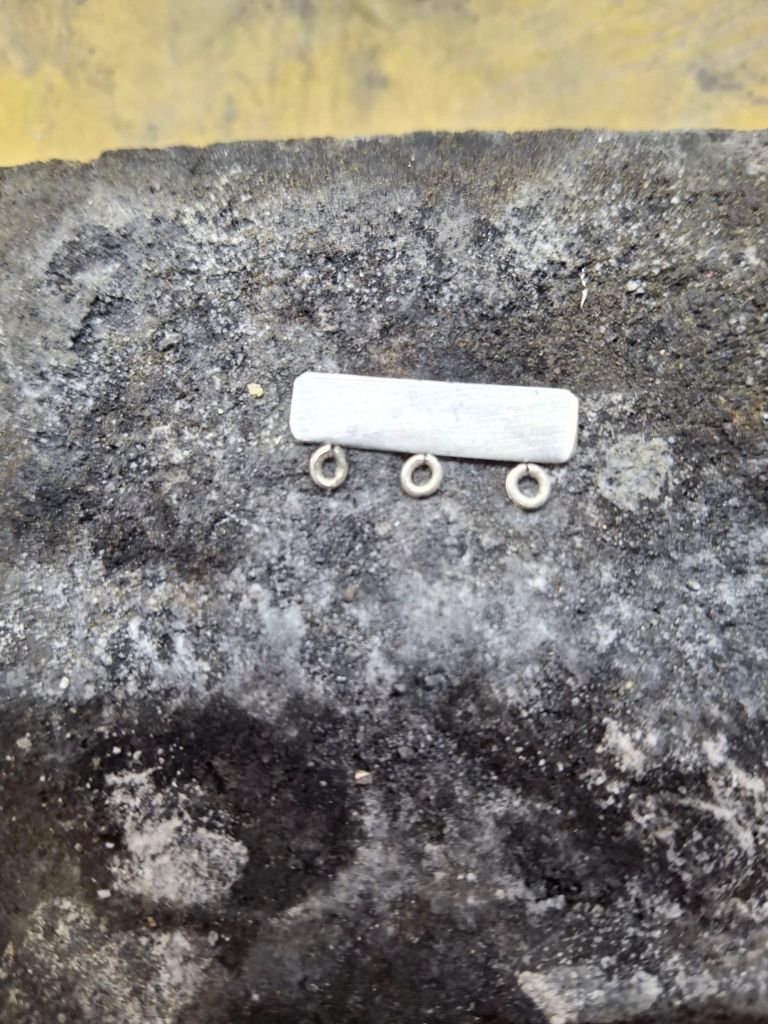
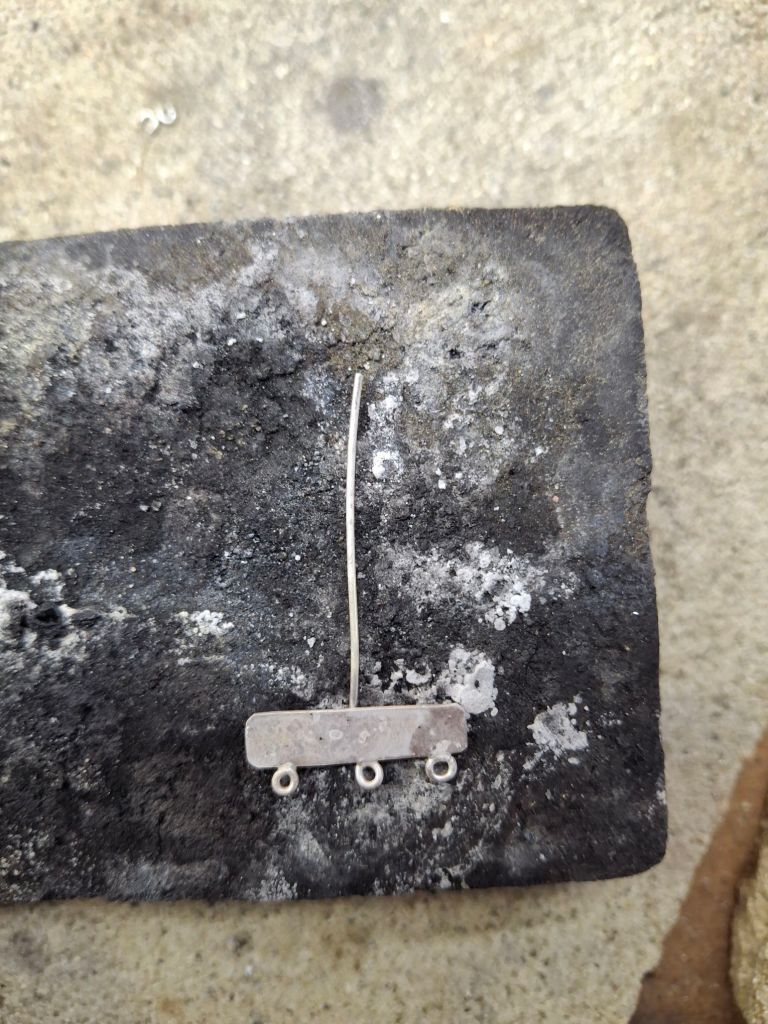
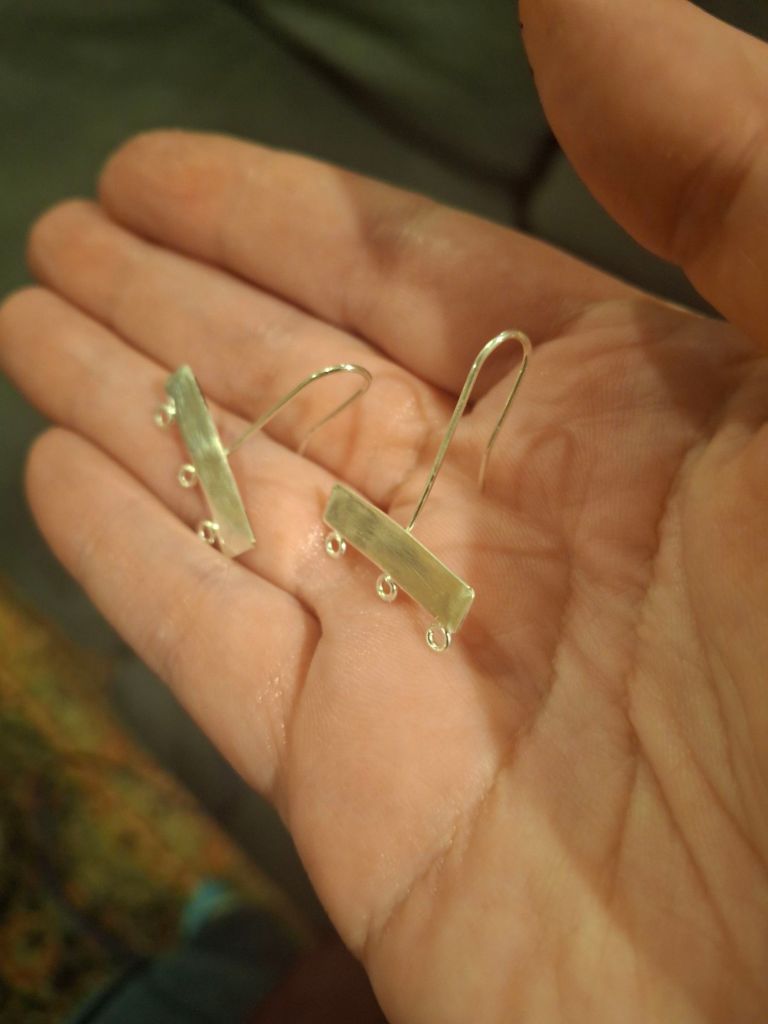
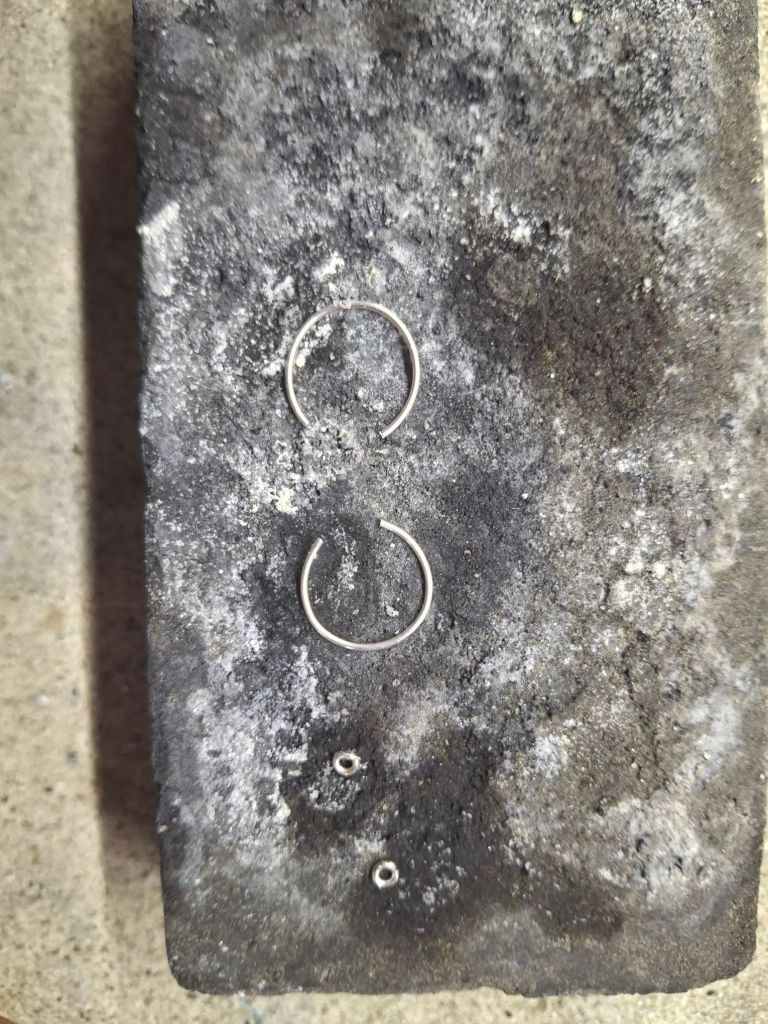
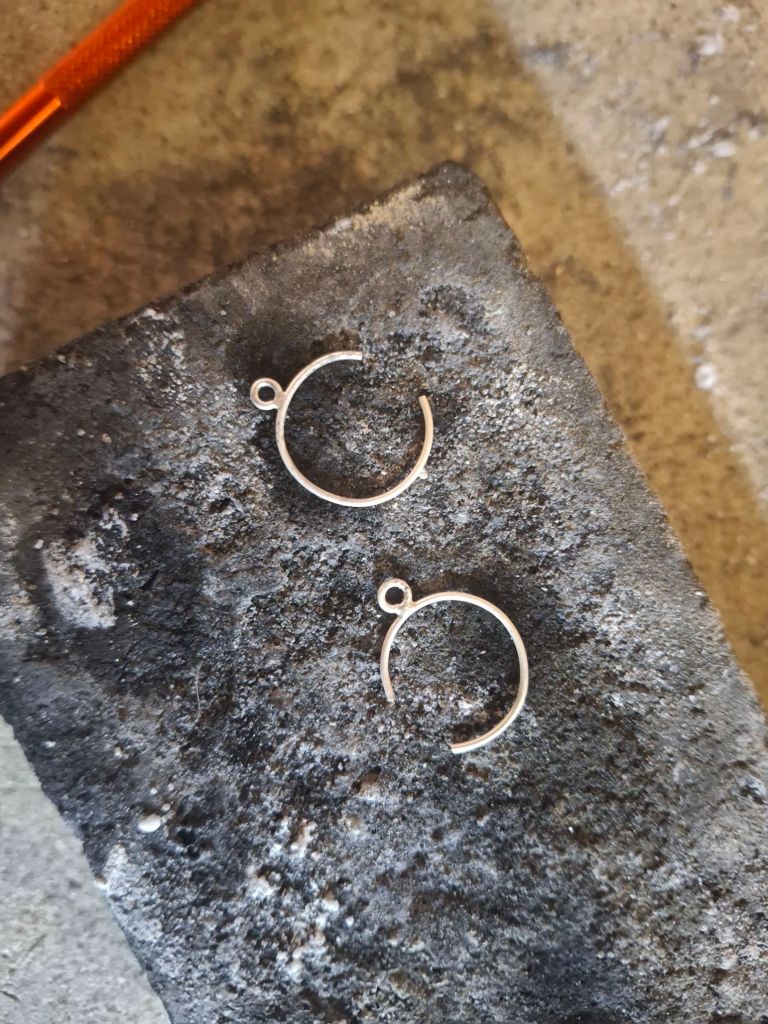
    So the one with the bail got two granules and an eye, and the other one got two granules and an eye on one side, and two granules and a hook on the other side. And they’re done! I need to finesse the hook a bit more, and then these guys will get incorporated into a second (silver) necklace. Just for reference, I used medium solder for everything except the granules and eyes/hook. I used easy solder for that stage. They’re not perfect, but I’m supremely happy with them as a first successful attempt.

  • Historical Fine Metal Soldering

    Taught by Claudia Helena, MKA Jennifer Lee, seamsandsilver@gmail.com

    Barony of Stromgard

    Timeline of Sources:

    Pliny the Elder: Natural History, written 77-79 CE

    Theophilus: On Divers Arts, written 1120 CE

    Benvenuto Cellini: Treatises of Ben. Cellini on Goldsmithing and Sculpture, published 1568 CE

    What the Sources Say:

    Natural History: “The [solder] is made with Cyprian copper verdigris and the urine of a boy who has not reached puberty with the addition of soda; this is ground with a pestle made of Cyprian copper in mortars of the same material, and the Latin name for the mixture is santerna. It is in this way used in soldering the gold called silvery-gold; a sign of its having been so treated is if the application of borax gives it brilliance. On the other hand coppery gold shrinks in size and becomes dull, and is difficult to solder; for this purpose a solder is made by adding some gold and one seventh as much silver to the materials above specified, and grinding them up together.” (b. XXXIII, ch. 29)

    On Divers Arts: “Take some beechwood ashes and make a lye out of them. Strain it again through the same ashes so that it becomes thick. Put it again into a small pan and boil it down to a third; then put some soap in and a  little fat from an old pig. When it is cold and has settled, strain it carefully through a cloth and put it into a copper vessel, which should be solid all over except for a small hole which should project on top and be round so that it can be stopped with the finger. After this take a flat thin piece of copper, wet it in water, and rub salt on both sides of it. Then put it in the fire and when it is red-hot quench it in fresh water in a clean basin, in which whatever is burnt off the copper should be kept. Again rub salt on the copper and do as before and keep on doing so until there is enough. Then pour off the water and dry out the powder in a copper pot and grind it in the same pot with an iron hammer, until it is very fine. Put it on the coals and again burn it and grind as before. Add soap and mix carefully; then put it on the live coals, burn it together, and grind again. After this, pour the lye out of the former vessel into the one which contains the powder, mix it and let it boil for a long time. When it is cold, pour it together with the powder back to where it was before, and also put in four small pieces of copper with which the powder should everywhere be mixed whenever you want to stir it. Gold and silver are soldered with this composition; but in soldering gold the powder should be stirred, as was said above, whereas in soldering silver it should not be stirred.” (pp.121-122)

    “…Then melt a little gold and mix with it a third part of pure red copper. When this has been melted together and hammered out a little, file it all up and put the filings in a goose quill.” (p. 124) He then proceeds to explain how to use the filings and the copper salt solder solution together in firing a handle to a bowl of a chalice. A more structurally demanding join.

    On soldering silver: “Weigh out two parts of pure silver and a third part of red copper; melt them together and file them fine into a clean pot and put the filings into a quill. Then take argol (the substance that accumulates on the insides of jars in which the best wine has lain for a long time) and wrap pieces of it in a cloth and put it into a fire to burn until smoke no longer comes from it. Take it away from the fire and let it cool. Blow away the ashes of the cloth and grind the stuff, now that it is burnt, in a copper pot with a pestle, mixing in water and salt so that it becomes as thick as lees.” This mixture is put onto the workpiece, and then the silver/copper alloy filings are added on top, it’s allowed to dry, and then more of this mixture is added on top prior to firing.

    The Treatises of Benvenuto Cellini…: “Then, too, you must have your solder prepared and ready to hand, and the right solder to use (for filigree) is the ‘terzo’ solder, so called because you make it with two ounces of silver and one of copper. Now though many are accustomed to make solder with brass, be advised that it is much better to make it with copper, and less risky. Take heed that you file your solder very fine, then put to every three parts of solder one of well ground borax…” (pp. 10-11)

    “And now for the soldering, if you’ve brought your work on so far. For this same hot soldering you take a little verdigris, the best you can get, from its original cake, nor must it ever have been used before, & it should be about the size of a young hazel nut without its rind, with it you put the sixth part of salts of ammonia and as much borax; when these three substances are well pounded together you dissolve them in a glass of clear water.” (p. 46)

    “…by the making of a special solder, and in this wise: You take six carats of pure and fine gold and put with it one-and-a-half carats of fine silver and of fine copper, melting the gold first and then putting the others to it, and so you have your solder, and with it you may make good all your holes and rents. Note further that every fresh soldering you must introduce a fresh alloy of silver and copper so as to prevent the solder of the time before from running together…” (p. 47)

    8th-5th century BCE Etruscan fibula with copper salt soldering.

    What the Science is:

    Copper salt soldering: Alternately called colloidal soldering, eutectic soldering, or transient liquid phase bonding. The copper oxide or copper carbonate reduces in high heat to pure copper. The copper fuses with the gold at approximately 890’C, creating an in situ alloy. This alloy diffuses into the neighboring gold, acting like a tiny amount of alloy solder. It’s not as strong as an alloy solder joint. Techniques were employed to strengthen the bond by increasing the areas of contact between joined pieces. 

    Copper salt soldering has been used since at least just before 3000 BCE, according to Jack Ogden’s Jewelry Technology in the Ancient & Medieval World. That’s more than 3000 years before Pliny wrote Natural History. Granulation was often, but not always, accomplished with copper salt soldering, and that art flourished in the Bronze Age. Copper salt soldering is largely, though not infallibly, identifiable by the imperceptible joins and no excess solder. It requires microscopic inspection to truly identify it.

    12th century Byzantine ring with visible alloy solder

    Alloy Soldering: Alloy soldering uses an alloy of either silver+copper (or silver+brass, though Cellini cautions against this for good reason), gold+copper, or gold+silver+copper. Other alloys exist in other manuscripts, but they all have one thing in common: the alloy melts at a lower temperature than the metal of the work piece. When it melts, it flows into the joints, sealing them. You don’t need to use much of it, as your joints should be tight, and a little goes a long way. The melting point of the solder varies by the alloy. And I love that Cellini mentions using different alloys for subsequent soldering operations. The more silver/copper you add, the lower the melting point will get.

    The reason you don’t want to use brass for solder, even today, is because unless you’ve made the brass, you probably don’t know the alloy of it. So you’re making unpredictable solder. Even today, people will use brass in lieu of copper and zinc separately in their silver solder. (Modern silver solder is an alloy of silver+copper+zinc.) Brass contains zinc, ergo, it’s a shortcut. However, weighing out the silver, copper, and zinc individually and alloying them together yourself is the more reliable method, if you’re going to make 

    modern solder.

    Modern Soldering; a very, very brief overview: Some time in the intervening years between Cellini and the 20th century, the art of copper salt soldering was lost, at least in Europe (I can’t speak to other parts of the world). In the 1930s, a goldsmith in London named H.A.P. Littledale rediscovered the art, and patented it. While it is not practiced widely today, it is used by some people. What’s used far more commonly is alloy solder. Just like Cellini indicated using different alloys for subsequent firings, there are commercially available solders of different alloys with stepped melting points so that you can stage your soldering operations if you so desire. What’s also true is that each time you fire, your solder gets a little harder because some of the alloying metals burn off. Particularly the zinc. So some very talented, or well trained, goldsmiths choose to use one solder for all their operations. Gold solder is alloyed with silver, copper, and zinc. Silver solder is alloyed with copper and zinc. For flux, some jewelers use a modern chemical composition called Handy Flux. Others use the same thing that Cellini was using: simple borax.

    Glossary:

    Annealing: to restructure the crystalline structure of a metal, which causes it to soften, by heating it to a given temperature and quenching it (heating temperature and quenching varies by metal).

    Work-hardening: Metal gets stiffer or harder as you manipulate it or hit it with a hammer. You are disrupting its crystalline structure when you do that. Sometimes, like for an earring post, you want your metal hard. When you need to re-soften your metal, you anneal it.

    Flux: A solution applied to your workpiece at and around the join(s) prior to soldering to protect the join from oxidation. Tartar of potash was commonly used as a flux before borax became popular.

    Solder: A material applied to a metal joint, exposed to high heat, which then flows into the joint and acts as a metallic “glue”.

    Pickle: A mildly acidic solution that a piece that has been exposed to high heat is submerged in to remove oxidation.

    Reducing flame: A flame atmosphere that can extract oxygen from the metal oxides placed within it.

    Verdigris: A bluish-greenish patina that forms on copper. Copper carbonate.

    Bibliography:

    Cellini, Benvenuto. The treatises of Benvenuto Cellini on goldsmithing and sculpture. Translated 

    from the Italian by C.R. Ashbee. New York: Dover Publications, Inc., 1967

    MacDonald, W D, and T W Eager. “Transient Liquid Phase Bonding.” Transient Liquid Phase Bonding. Accessed March 21, 2025. https://eagar.mit.edu/publications/Eagar123.pdf. 

    Ogden, Jack. Jewelry Technology in the Ancient & Medieval World. Brynmorgen Press, 2023.

    Pliny the Elder. Pliny the elder, The Natural History John Bostock, M.D., F.R.S., H.T. Riley, Esq., 

    B.A., Ed. Pliny the Elder, The Natural History,1 Lemaire informs us, in his title-page, that the two first books of the Natural History are edited by M. Alexandre, in his edition. http://data.perseus.org/citations/urn:cts:latinLit:phi0978.phi001.perseus-eng1:1 

    Theophilus, Hawthorne, J. G., & Smith, C. S. On divers arts: The foremost medieval treatise on painting, Glassmaking and metalwork. Translated from the Latin with Introduction and Notes by John G. Hawthorne and Cyril Stanley Smith. New York: Dover Publications, Inc., 2017.

  • This was originally posted on Blogger in January of 2020. Reposted here with the same photos and some slightly tweaked text.

    So I want to show you two ways of finishing your necklace, both valid. A basic hook and eye, made cold with just pliers, is readily documented to Roman occupied regions from at least the 1st century BCE to about the fall of the empire. Once you get into the 5th-6th centuries CE, you start seeing more complicated filigree hooks and eyes. There’s definitely overlap, and there’s evidence of filigree before that point. What I’m saying is that either of these methods work, the complexity of the finished piece is more representative of the wealth and station of the owner, as well as the skill of the craftsman, rather than necessarily the exact time period. (The style of chain in my first post on this subject can also be seen through that same several hundred year period.)

    Fun fact, the cost of jewelry in the Empire seems to have been based on the weight of the gold more than the style, so price did not necessarily drive style.

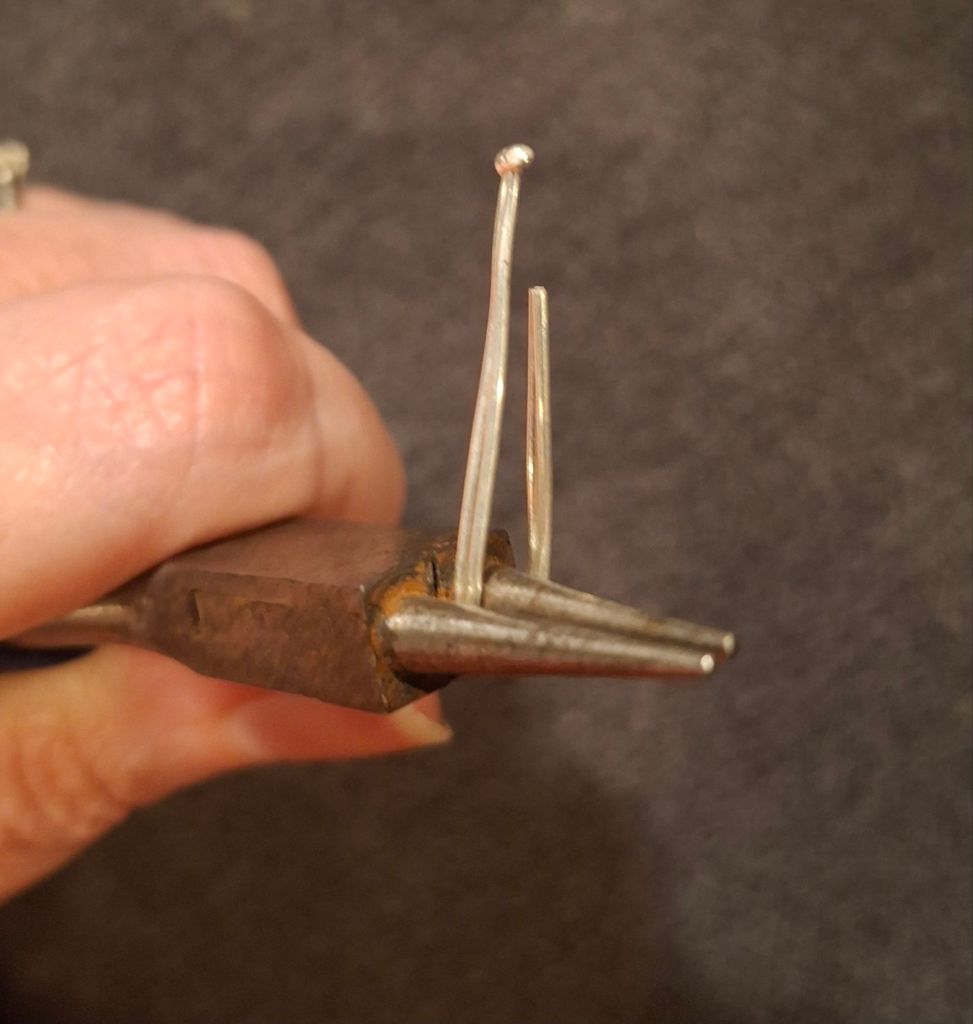
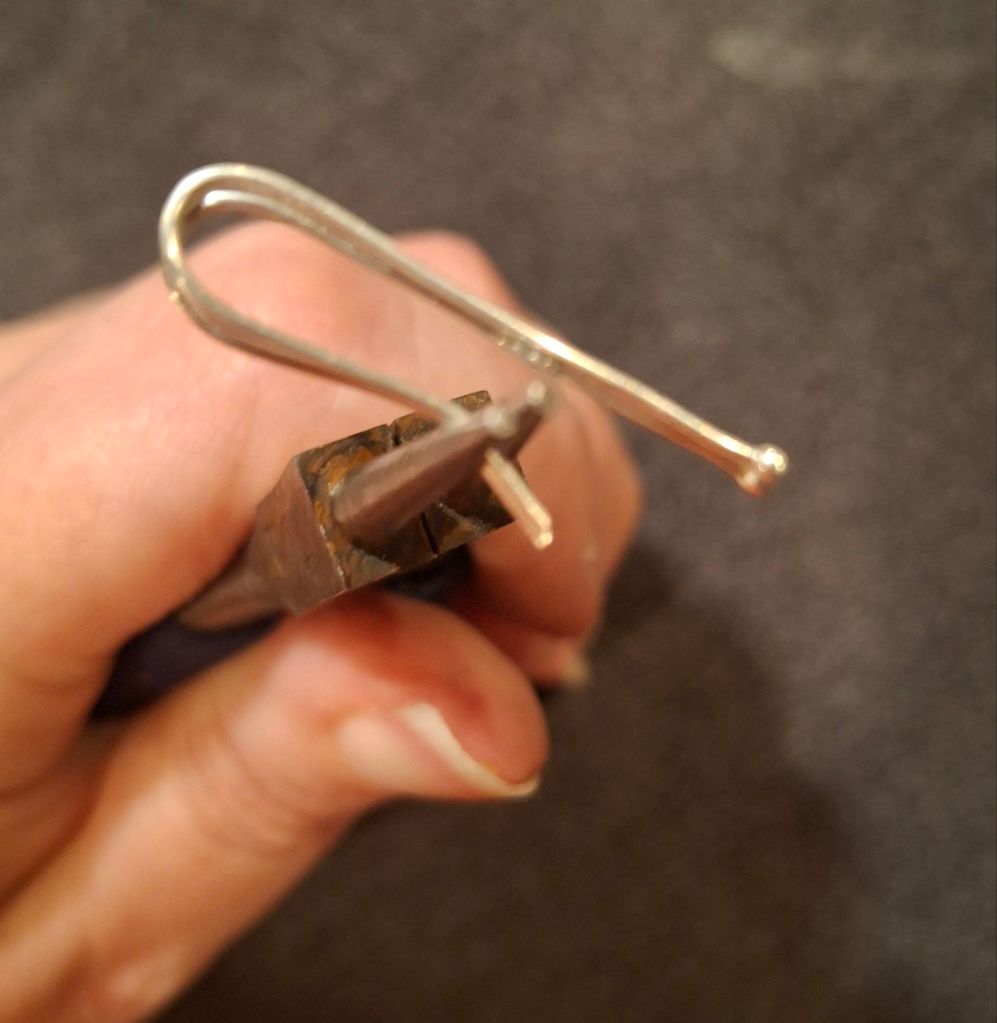
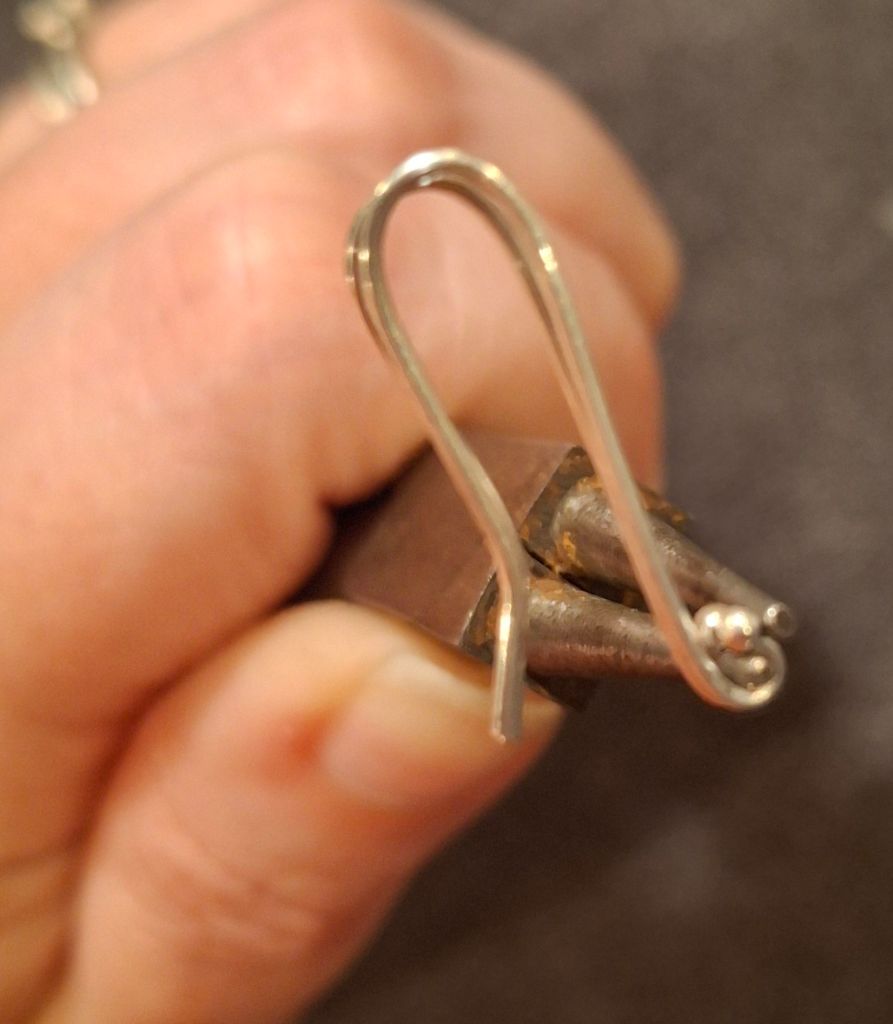
    Anyway, a basic hook and eye is really easy! If you made the chain, you’ve been making eyes for a while now! I wanted to use a sturdier wire for my fastening, so I simply made one more link, without a bead, exactly the way I made all the other links, just using 16 gauge wire instead of 20. 16 gauge is super beefy. 18 or 20 is just fine in brass, and I’ve used 20 and 18 in silver as well. I wouldn’t go less than 20, though. And make sure you work harden it. You do that by working it through your fingers a bit before forming, or by beating the finished hook with a rubber or hide mallet (something soft enough that won’t deform the metal).

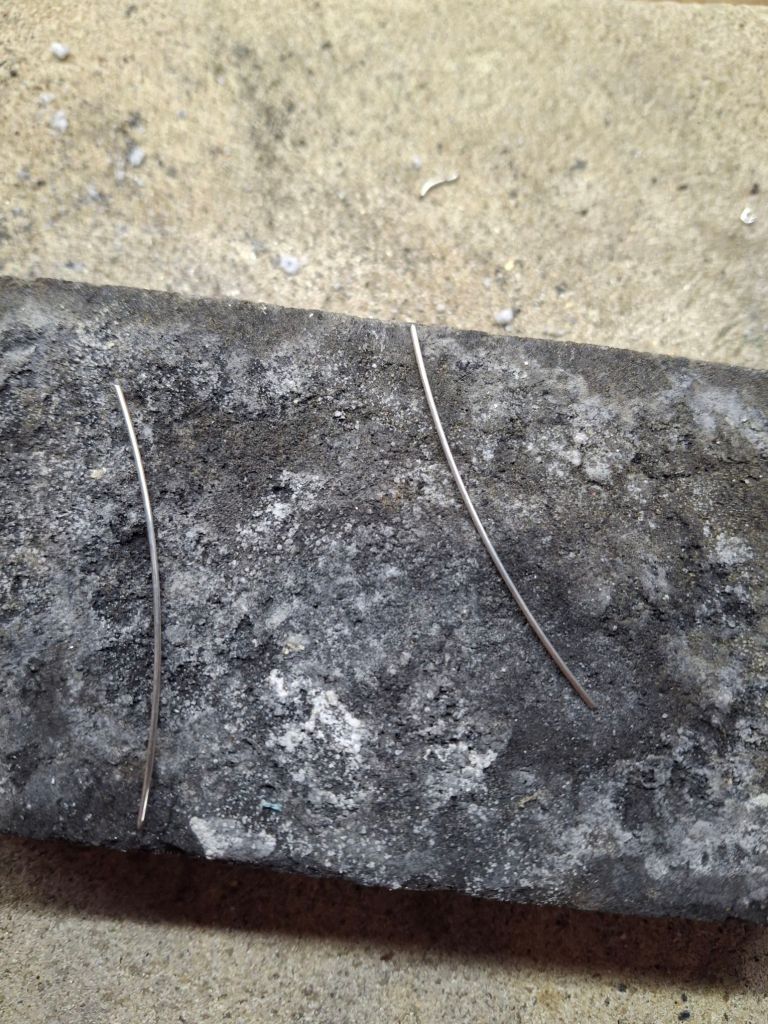
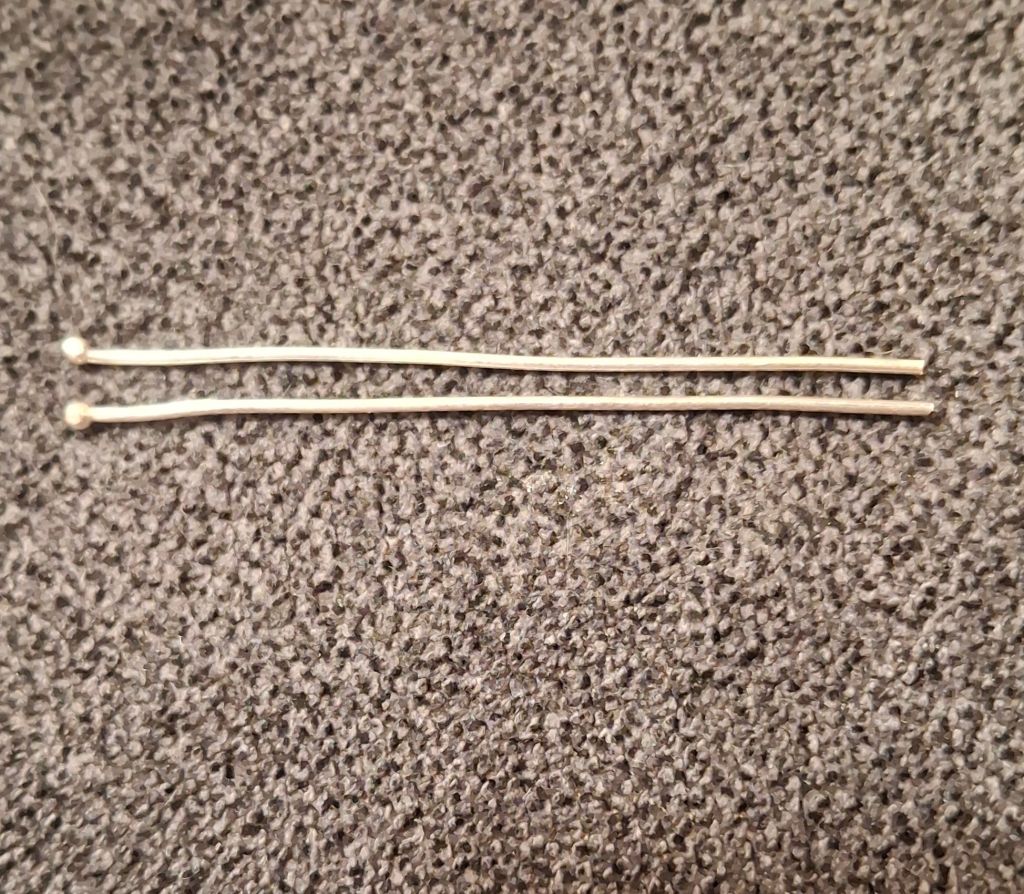
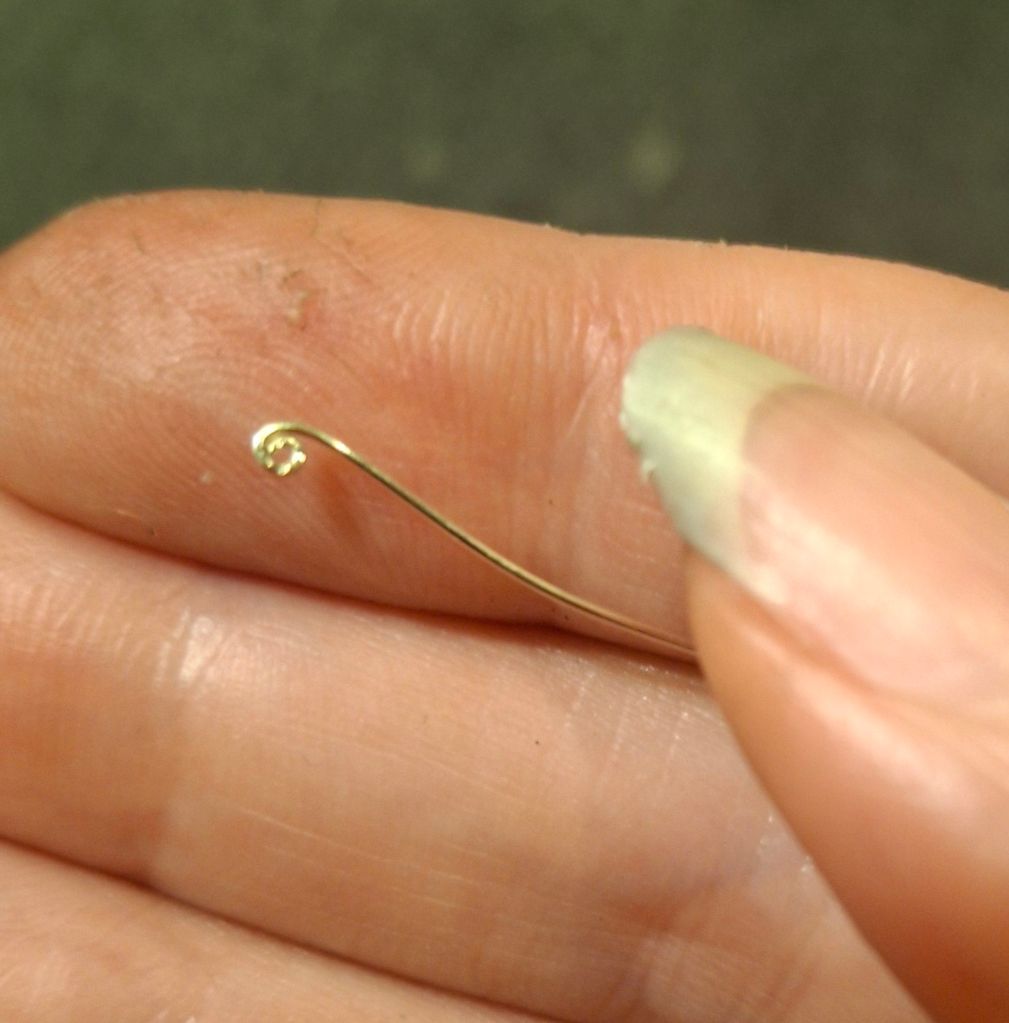
    For the hook, it’s even easier. Form a hook on one end of a piece of wire (a few centimeters in length). Then attach it to the other end of your chain the same as all the other links. Six years after writing this, I like to do it the other way around. I like to attach a straight wire and then form the hook, but both ways work.

    And here’s our finished piece!

    The filigree clasp is up next!

  • Originally pasted on Blogger January of 2020. This post uses the same photos, the text has minor updates.

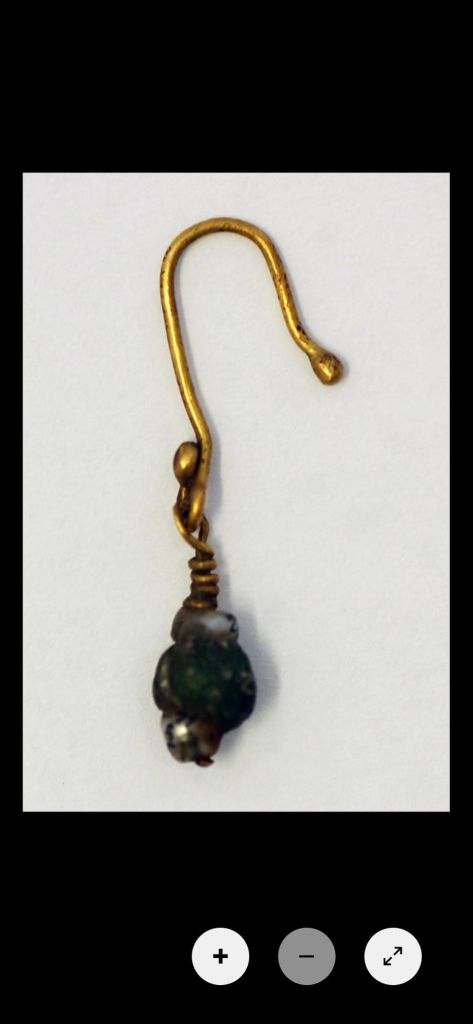
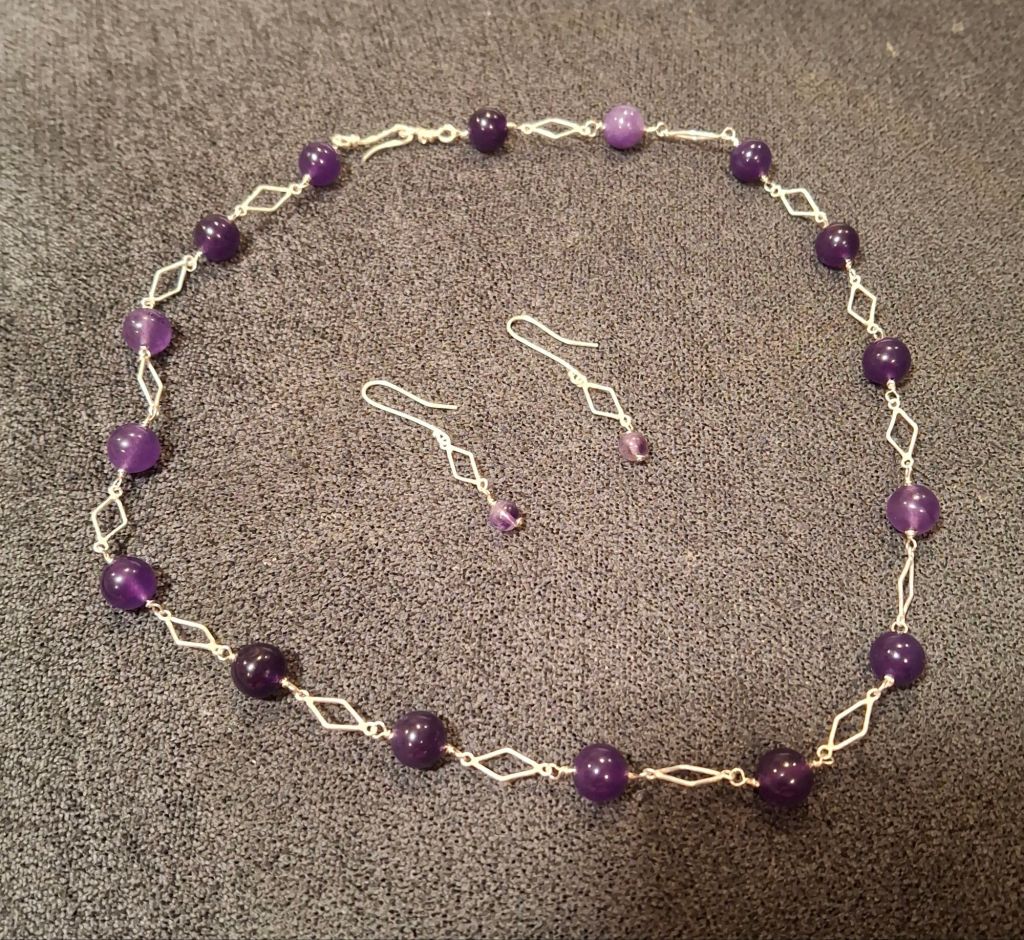
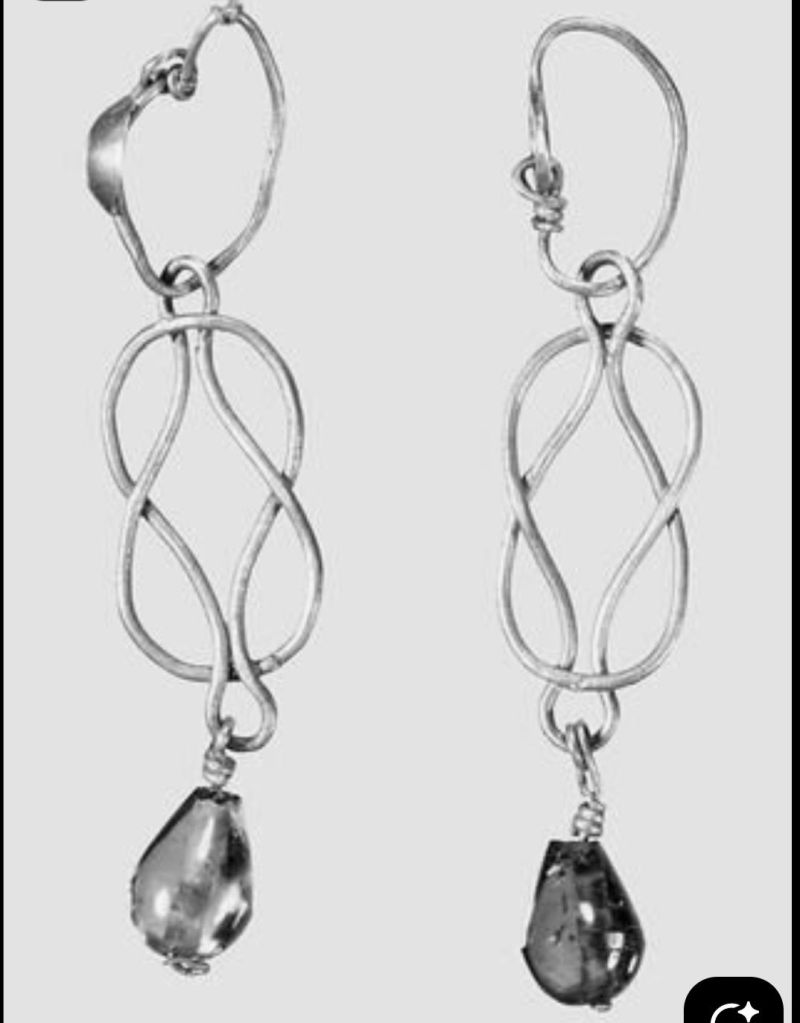
    I found this necklace on The Met’s Pinterest page, and several more, similar ones, from various sources. It’s a relatively easy thing to make (except the clasp; this particular one is a lovely piece that involves some soldering, and slightly more advanced skills). But this is a tutorial on the chain itself. I’ll make a subsequent post on making a simpler (still documentable) hook and eye closure, and then we’ll tackle something like the more complicated clasp in the original. 

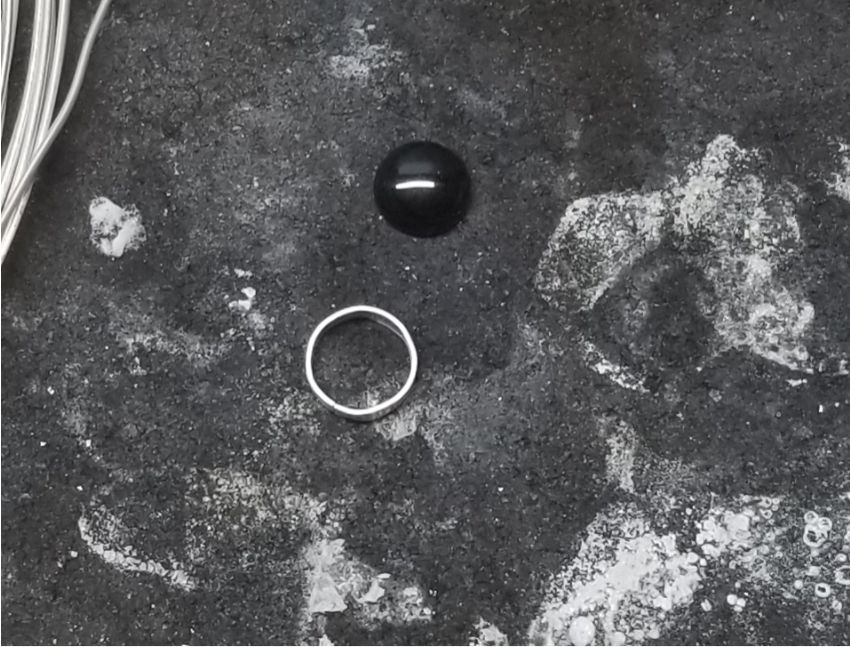
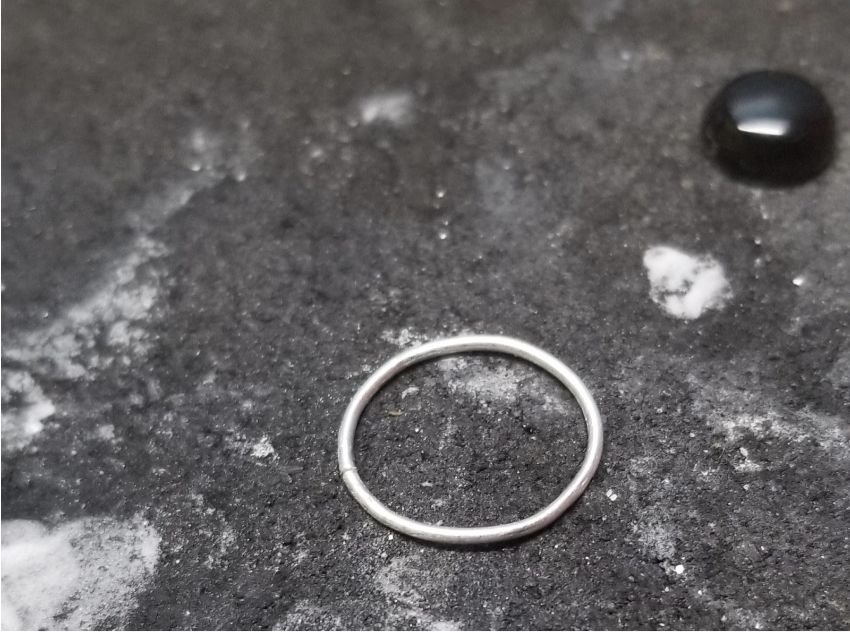
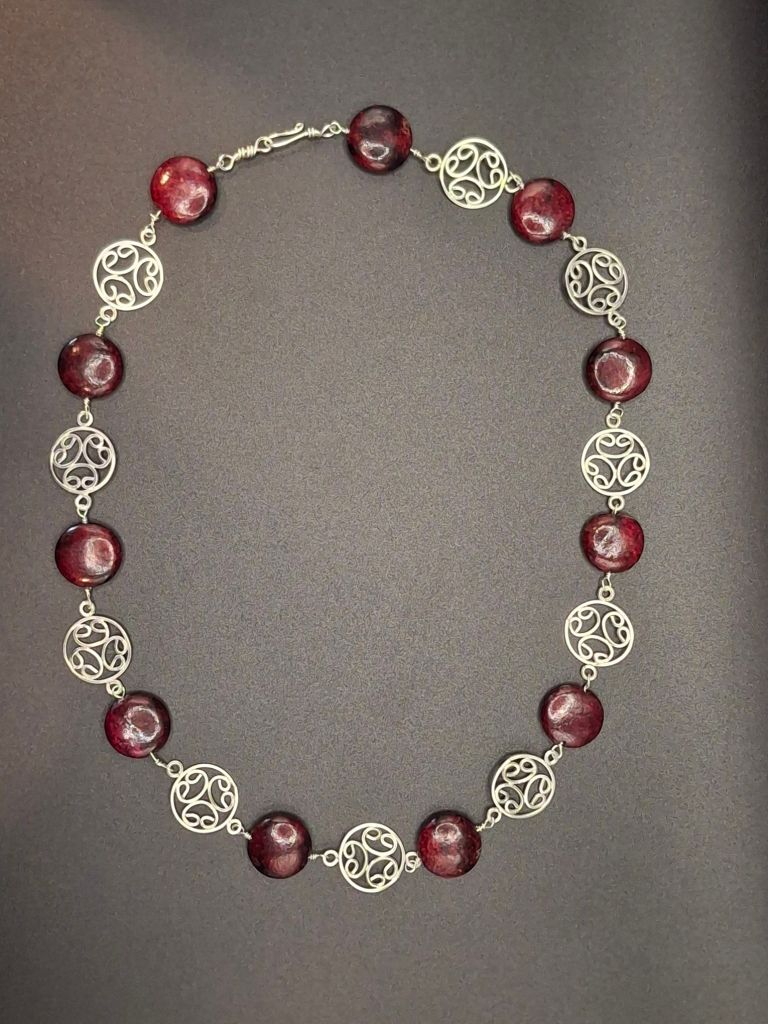
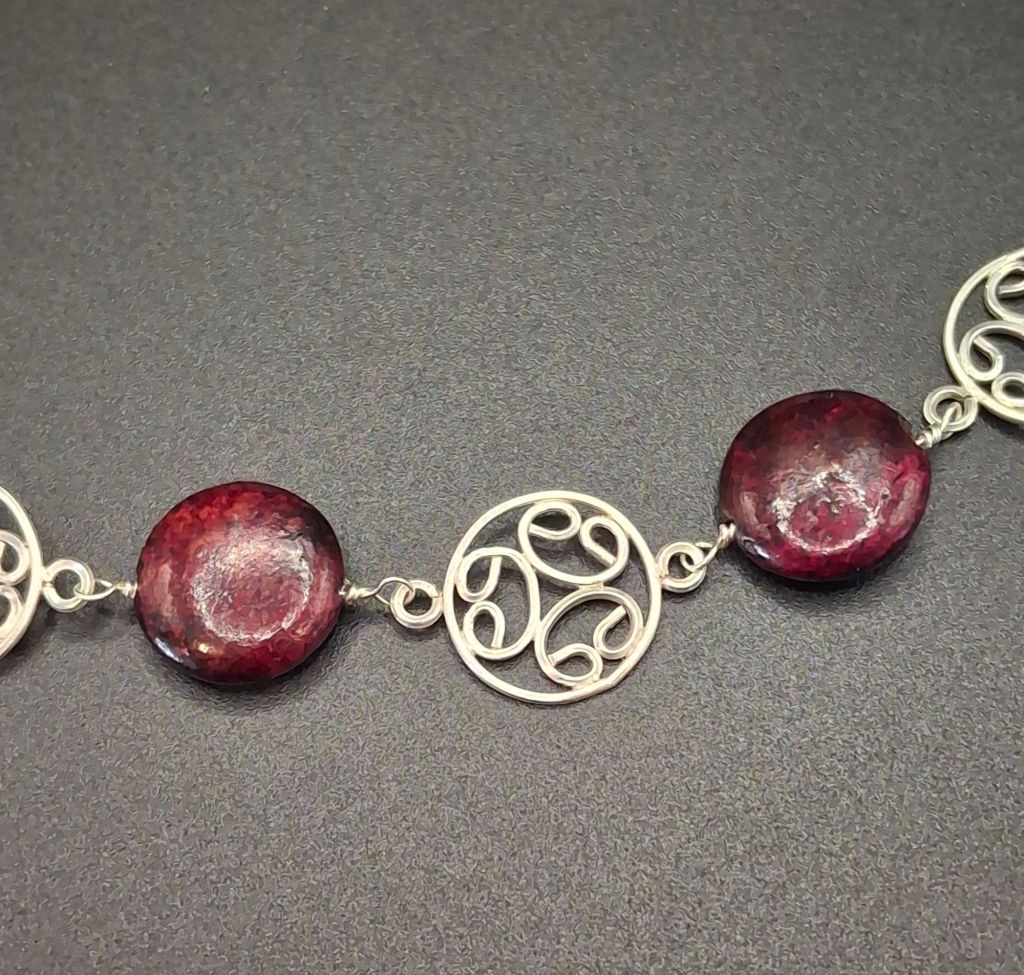
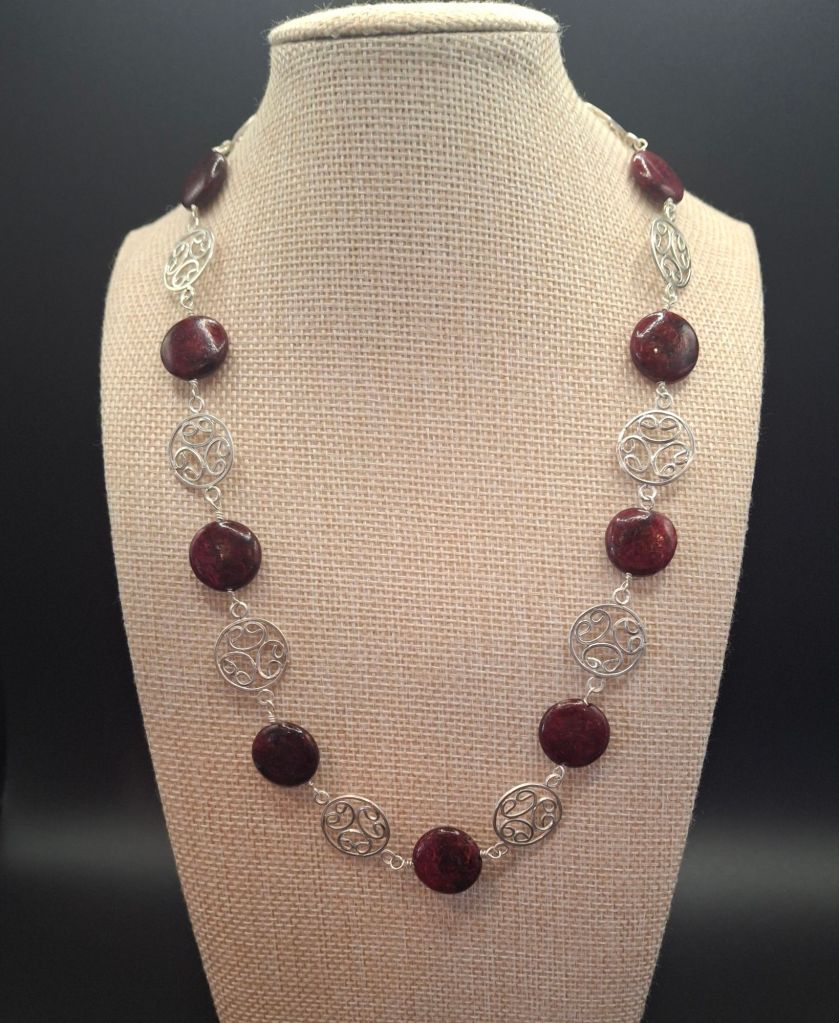
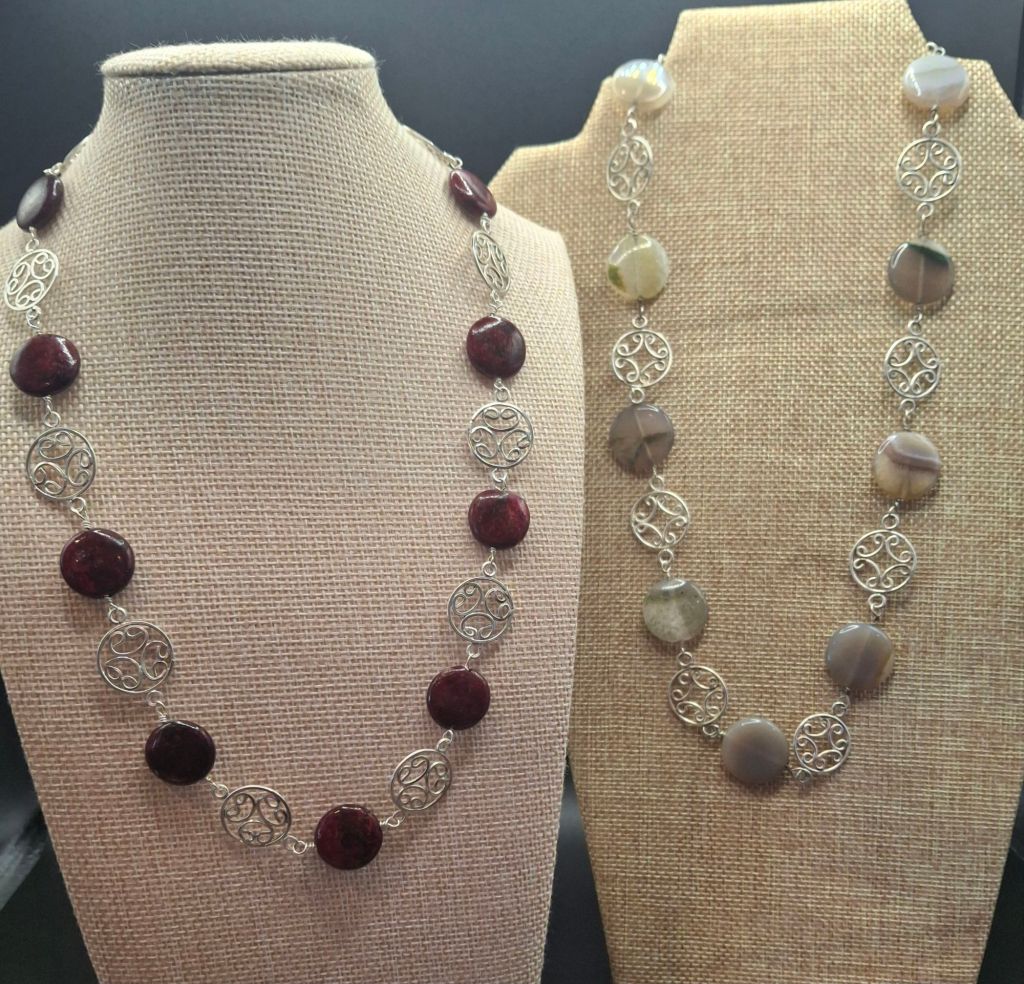
    For now, the chain! I don’t have any beads similar to the original, so I just pulled some from my stash that seemed a similar enough size, and that looked nice together. I ended up not using one of the ones in the photo. I also have 20 gauge brass wire (the original is gold), round nose pliers, wire cutters, and not pictured, some needle nose pliers. 22 or 24 gauge wire would also be suitable. 24 would be very fine, and fiddly, and inconsistent with most period necklaces that I’ve looked at in the last six years. There is documentation for wire that fine having been used in ancient times, but not, as far as I can tell, in this context. Gauge or wire thickness is never indicated in museum notes, but you can get a sense of scale usually.

    This is not the clasp type that I ended up reproducing, but I do have a photo of the one I made.
    My materials

    Each link is a piece of wire, and a bead, and you build the chain as you add links. Each of my wires was cut to around 9 cm. Cut longer pieces to start out with, if you’re new at this. The longer your tails are, the easier it is to manipulate them. 12 cm would be a good length, if your beads are similar to mine.

    Use your round nose pliers to make a large-ish eye. I had about 3 cm of wire at that initial bend, making up the eye. 3-4 cm is an okay length to work with. Any shorter is more difficult.

    Continue until it looks like this. A full loop.

    Use your pliers to twist the short end around a couple of times. Keep the spiral close and tight. Flat nose or round nose pliers work and practice really helps. You can use your pliers to snug your spiral up close to your loop, as well.

    Cut the end of the wire close to the spiral. Use needle nose or chain nose pliers to tighten up the cut end as much as possible.

    Slide a bead on and close the other end up. This is the only time you’ll close both sides without adding a link first.

    One link done

    Repeat the first few steps up to adding a bead. I’ve obviously done a few more here, but trust me, this is all rinse and repeat from here. When you get your next link to the point in the photo, go ahead and slide that tail onto your existing link, so that the eyes are linked.

    Like this!

    Sorry about the beads changing, these were better photos of this step. I find it easiest to grasp the eye with pliers at this point, and then finish off this link. Contine adding links in the pattern of your choice until the necklace is the length you want.

    The original necklace is about 17.5″ overall, so I made this one around 16.5″. The rest of the length will come from the hook and eye.

    Hook and Eye Tutorial

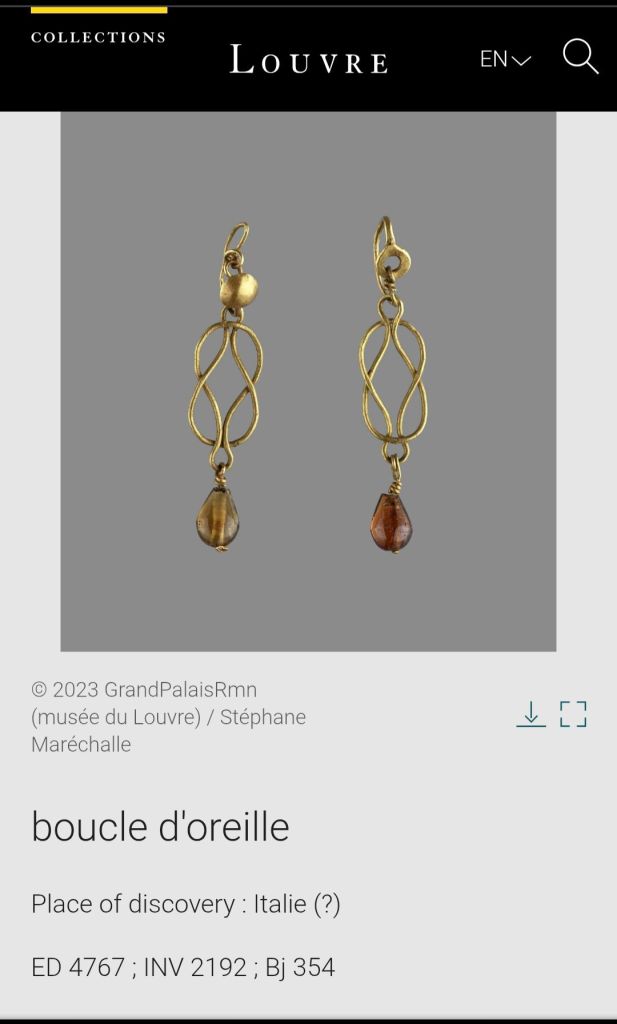
  • So my next jewelry project is a big undertaking. I want to make my own strip twist wire, and then turn that into a Hercules knot necklace (and redo my old Hercules knot necklace, which I did incorrectly the first time.) Strip twist wire is how wire was made in Rome, and everywhere else for that matter, prior to the invention of draw plates. Metal was beaten into a sheet. Cut into very thin strips, and then the strips were twisted kind of like candy canes. The flat edges curl up on the center spine, and a round wire is formed. It gets rolled between two flat, heavy plates to compact it. See the images below from “Jewelry Technology in the Ancient and Medieval World” by Jack Ogden.

    I definitely feel like this is a challenging thing, and I’m not at all sure I’ll succeed. But I want to try!

    Today was the start, and it was full of failures. I started with an ounce of silver, graciously gifted to me by my Laurel, Earl Cathyn, and working in his shop, because he’s got a beefier torch than I’ve got. Well, we learned that his torch isn’t beefy enough for casting. Even an ingot.

    At first, it seemed to be going well.

    First try, there was too much borax in the crucible, and we got melted borax on the metal. Along with a lumpy bit.

    We should have stopped here.

    We decided to try again. That was a mistake. We never got as good a pour again.

    This monstrosity was the second pour.

    The metal wouldn’t stay hot enough as it was coming out of the crucible. That continued to be our problem.

    You can see that melted borax still hanging on in this photo, too.

    Third try, the silver still didn’t want to stay melted in the crucible. It was solidifying as I was pouring, even with the torch on it. The entire time, we were actually using two torches. An acetylene torch and an oxy-propane mini.

    At this point, we admitted defeat. We just didn’t have the fire power needed. We decided to melt the silver one last time, into a clean little round. If nothing else, I can forge that out into a sheet, and cut my strips from that.

    A comedy of errors, it got stuck in the crucible.

    So yeah, don’t do this. We built up too much of a borax glaze in the crucible to begin with. But this may happen, either way. The metal got stuck in a borax glaze bezel. So we had to heat it one more time to melt the borax and release the metal puck.

    Finally free!

    Cathyn was able to crack off most of that borax with a pair of heavy pliers, and I’m thinking I’ll bang off most of the rest of it with forging. It’s currently all on the back side of the piece. I’ll definitely get it all cleaned up before getting too far down the line with forging.

    So this was my/our misadventure this morning. I have zero experience with casting, and Cathyn has very little. So if anyone wants to offer advice, I’m here for it. I don’t know how much of it I’ll ever do, but I’d like to know more about it.

  • I learned how to do the magic hem from the internet a million years ago, but I’m doing my own post on it because I personally think that there cannot be too many sources on the subject. I have no idea who started this technique, or when. I’m absolutely not claiming that it’s in any way period. It IS a fantastic way to achieve an even, neat rolled hem. It can be used on straight edges and curves, making it wonderful for veils. I’ve been using it on my tunicas. In Rome, a tunica would have been woven to shape and either woven into a tube with no sewing, or sewn very little, using selvage edges. I’m not weaving my own fabric, and very rarely do I have selvage edges to work with. To get a minimal and unobtrusive edge finish, I do a small rolled hem. (Then I whip stitch the two hemmed edges together for my seam. I’m starting to rethink this approach, but right now it’s the most fabric conservative method, and using the vintage saris, I want to eke out as much width as I can get.)

    Anyway, the magic hem! It’s very simple. You fold a small (1/4″ or less) single hem. Start your thread at the raw edge. Take a stitch in the fold (about 2-3 mm). Take a small stitch (try to pick up just a few threads) at the raw edge, take another stitch in the fold, take another stitch at the raw edge. Don’t pull your stitches all the way snug yet. Just pull them so that they lay flat against your folded hem. Continue stitching in this manner for about 1 1/2-2″. Then pull your thread and let the final hem form. The fold will fold again, in on itself, encasing the raw edge. See the photos below.

  • Edited to add: I’m shooting for the mid- to late 1st century. When the stola was reserved for the wives of Senators and going out of fashion. I haven’t fully defined my persona, or time period, so I slide a little back and a little forward. My next tunica will slide even more forward and have clavii!

    My current Roman kit (for the warmer side of shoulder seasons and summer) isn’t perfect, but I’m fairly happy with it. It starts with, well frankly, it starts with modern undergarments because I’m not up to putting on a strophium in the morning. A strophium is a linen band that’s, for me, about 5-6″ wide by about 3ish yards long that gets wrapped around the breasts like a strapless bra. And whether it acts like a bra or a binder is debated. I’ll get there eventually, I’m sure, because I’m curious, but I’m also sure it’s never going to be a regular part of my garb.

    Anyway, moving on. We start with a white linen subucula, cut as a close fitting tunica recta. As in, only a scant few inches (3-4) more than my widest measurement, which happens to be my hip. Ankle length-ish, with a slit in one side for walking. I currently make this by folding the linen in half using the selvages for the top and bottom edges, cutting a slit for one arm on the fold, and seaming the other side, leaving the other arm hole open, as well as the walking slit. I believe the linen tunic is period, my construction is modern.

    This layer is followed by a silk tunica, either a wider tunica recta or a tunica chirodota (with sewn in sleeves). I use vintage saris that are plain (no dots or patterns) with the trim cut off for my silk. The material is debatable. There are enough references to silk in period to make it plausible for a very wealthy persona, depending on the decade (it went in and out of fashion and availability). By the third century CE, for example, it was literally worth its weight in gold. I’m going for earlier than that, however. It’s really probably not completely right, but also maybe not completely wrong, depending on how wealthy I want to pretend to be. The silk is relatively affordable, and drapes really well. I have plans to make additional tunicas out of wool (definitely what the majority of tunicas were made out of in period), both tropical weight that I could wear now in spring, as well as heavier weight for winter; I also want to make a few out of mid-weight linen. These are largely for layering and for camp-wear. I think that they’re also period. Even though the statues and frescoes show us all the lovely draping and folds that comes from gauze and open weave fabrics, there’s written evidence and Coptic finds of heavier weight linen. The Coptic ones, for the most part, post date my period of interest, but not by a whole lot for some. Some artwork would lend itself to the idea of heavier weight fabric, as well.

    Moving on, currently I only have one stola, and I made a tragic mistake when making it. I focused too much of my research on what the top of it looked like, and neglected the bottom. The length. I cut it woefully too short, not realizing that the things were worn double belted and bloused. *hangs head* Do what I say, not what I’ve done! This layer ought to be at least 20″ longer than it is. Thankfully, the palla hides my shame. You can’t really see what’s happening, or not happening, as it were. The glorious side of this stola is that it’s indigo dyed wool gauze, dyed by my friend, her Grace Jac (OL) of Northshield. Now, I don’t always wear the stola, because I like the late first century CE when the stola was going out of fashion.

    Edit 5/25/26: I didn’t do it wrong! A friend of mine (Duchess Livia, OL, An Tir) shared a photo with me of a banded, pleated stola on a statue that looks exactly like mine. It’s floor length, not double belted. And she taught me a very important lesson: no one “always” did anything a single way.
    Topping it all off is a wool gauze palla. Four yards of fabric draped like a giant shawl around the body. Wool gauze has become my favorite fabric on the planet. There’s not much to say about the palla, other than that it, unlike the stola, stays in fashion FOR EVER. Shawls are stylish like that.

    Shoes are currently most usually my old latchet shoes. Not the most correct for Roman. But they’re comfortable. I have a pair of modern sandals that blend, but aren’t that comfortable, so I don’t wear them often. And I’m nervous about buying calligae  online, but I’m going to eventually, if I can’t find a pair at An Tir West War this year.

    Resources: so far, I’ll be honest, my main resources have been other people. Dulcia’s Roman Closet and Romana Sum have been invaluable. (If I had paid slightly more attention to Tullia at Romana Sum, I wouldn’t have made that danged stola mistake!) I’ve also spent a lot of time studying Roman art in the form of statues, frescoes, and Fayum mummy portraits (mostly for the jewelry). I’ve read a few articles that honestly haven’t been particularly helpful, but I’m most excited to have two books on their way to me right now. Roman Clothing and Fashion, by Croom and The World of Roman Costume by Sebesta.

    Photo by Sean Wolfe
    Without the stola
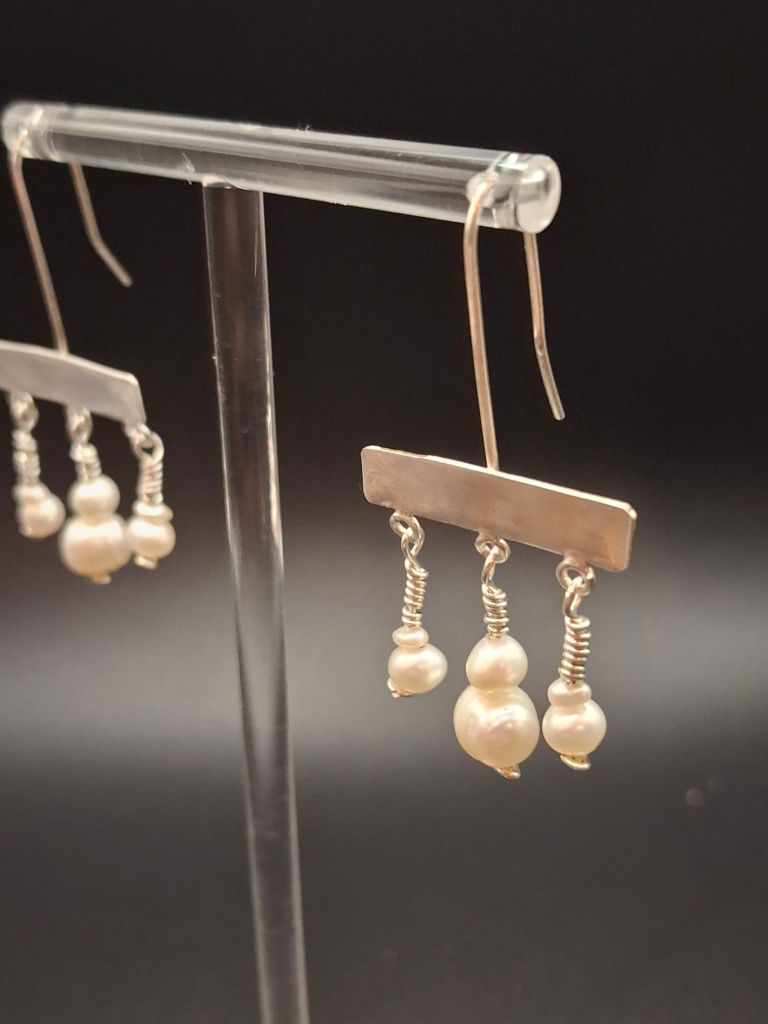
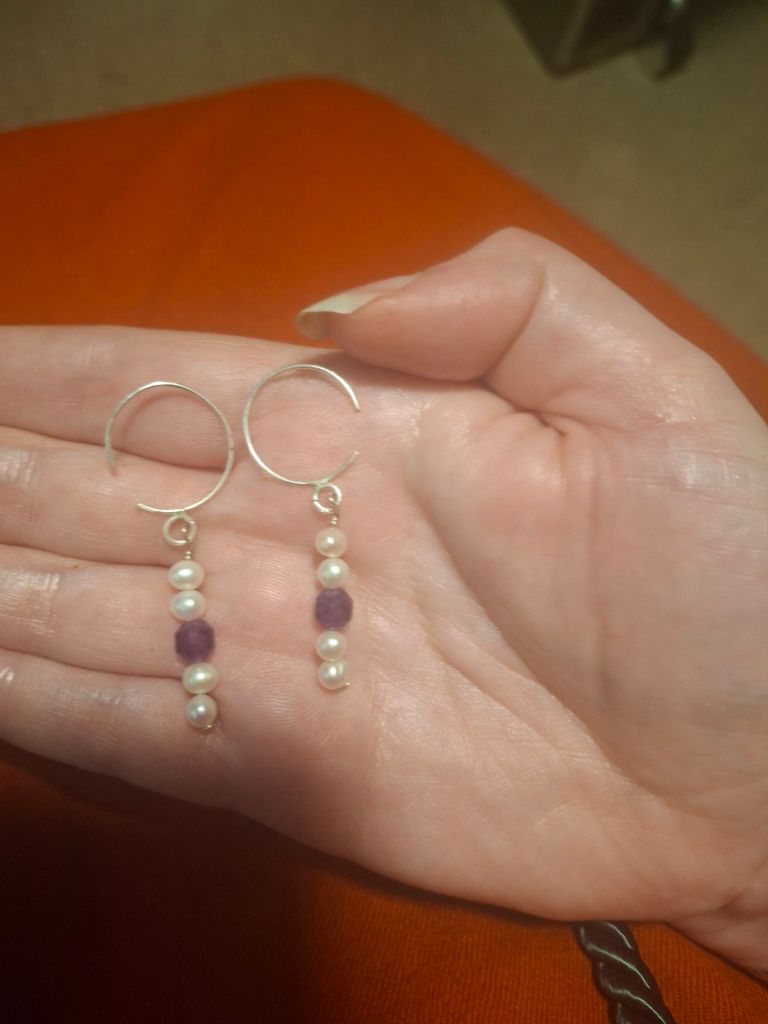
  • This is a topic dear to my heart. I was having a casual conversation with some friends a year ago, after getting deep into making Roman jewelry, but not having researched Roman jewelers all that much. I made the offhand comment that there weren’t any Roman female goldsmiths. But as soon as the words left my mouth, the assertion bothered me. I had no way of knowing if I was right. So I did some digging. And lo. I was (so happily) wrong! It’s contested, but there are several women with grave inscriptions indicating “aurifex”, literally, “goldsmith”. The most famous of which is Pompeia Helena.
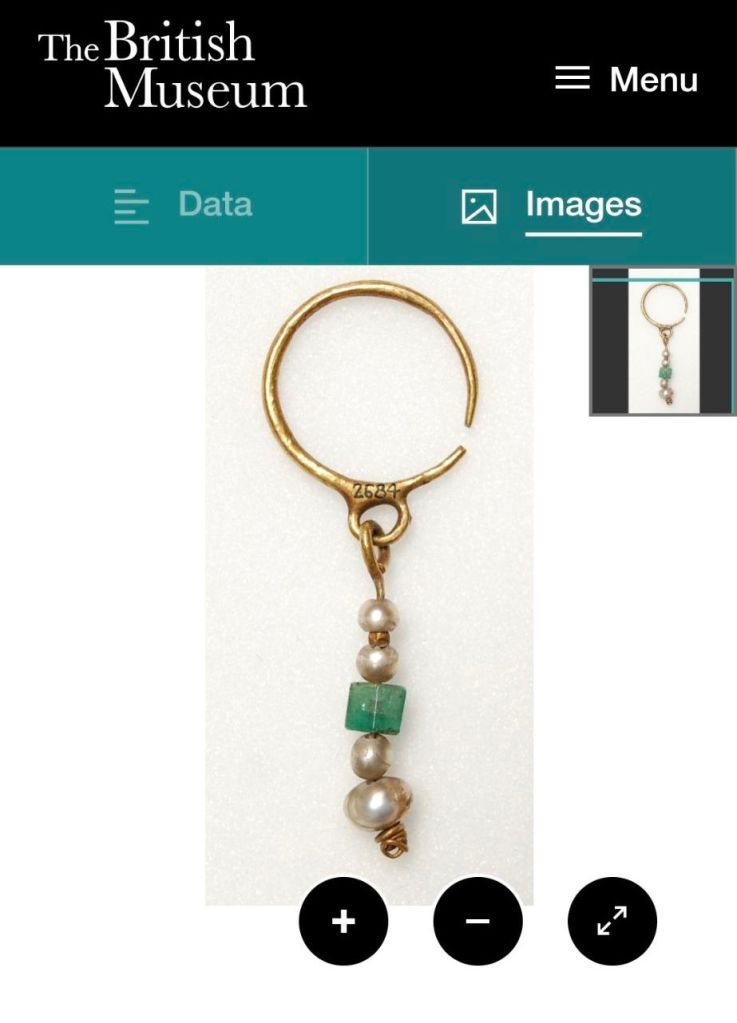
    It’s contested by one author, whom I haven’t read, John K. Evans, who suggested that aurifex may, in this context, mean “keeper of gold items”. However, Clemente Marconi, in The Oxford Handbook of Greek and Roman Art and Architecture, takes it for granted that women goldsmiths existed (p 125). Personally, I side with Marconi. Aurifex (on the grave, per Wikipedia, it literally says “aur (i) ficis” which is the “nominative, accusative, or vocative plural form of the third-declension masculine noun aurifex” (Google)) is used in the masculine form, rather than the feminine. There is surely another Latin word out there that better translates into “bearer of gold” or “keeper of gold”, and would show up in the feminine form. I think that women were doing the goldwork.

    Additionally, Jack Ogden, in Jewelry Technology in the Ancient and Medieval World, discusses gender. “Sweetest daughter Vincentia” was a Roman “gold weaver” who died at just 9 years and 9 months old. (p 345) We don’t know exactly what a “gold weaver” was. She most likely literally woven gold into cloth, probably silk. At nine years old, she was working with two of the most expensive materials in the economy. We also see, per Ogden, husbands and wives who worked together as gold beaters. (Brattiarius/brattiaria). These were skilled artisans who made gold leaf and gold sheet.

    These examples of women with job titles that are related to goldsmithing, but are not “aurifex”, further strengthen my belief that if “bearer of gold” or “keeper of gold” were specific jobs, that’s the title that would have been used, rather than the masculine word for goldsmith. It moreover strengthens my belief that Pompeia Helena was doing what might have even then been seen as a traditionally masculine job, and actually making jewelry.

    Of note, one of the other women that Marconi sites is Sellia Epyre, a 1st century aurivestrix. Note the different job, note the feminine nature of the job name. It’s been translated, per Wikipedia, to mean gold embroiderer. I would, with my extremely limited knowledge of Latin, guess embroidery on clothing? It’s a step too far from goldsmithing for me, though not for Marconi.

    I wish that I had more than two real sources on this topic (plus Wikipedia). There are several books on my wishlist, but they keep getting bumped for jewelry books. Also, my wishlist book are about Roman women generally, because that’s what’s there. I don’t know what more I’m going to find on this topic, in particular. I’m definitely open to suggestions!
  • I am Elizabeth Blackburn in the Society for Creative Anachronism, local to the Barony of Stromgard, kingdom of An Tir. I am a seamstress and metalsmith who works primarily in fine silver. Technically, I am a goldsmith even though, fun fact: I’m allergic to gold! You will never catch me working with it, however I do make jewelry, predominantly Roman.

    There were female goldsmiths in Imperial Rome! We know this thanks to epitaphs that indicate profession. While some have posited that women with certain crafting professions were, rather than the makers, sellers or custodians of the finished product. However, there is little more than misogyny to support that claim. I believe, based on my resources, that there were female craftspeople in Imperial Rome, including goldsmiths.

    It is far less likely that there were female goldsmiths in medieval England. There were definitely seamstresses, though!

    Why “Seams like a lady”? Because my real passion is construction, rather than patterning. Not that all of my garb is hand sewn, or even hand finished (I have a day job, after all), but most of it is hand finished, and my Roman is all hand sewn. It’s been a minute since I’ve visited my sewing research, as I’ve been focused more on metal, but as I’m at the beginning of a new set of 14th century garb, having outgrown my old clothes, I’m getting back into it.

    Expect to see some of my old blog posts, from seamslikealady.blogspot.com, to show up on here, but also expect to find class handouts, (new and improved) tutorials, and lots of progress pics on this site!